Green Pizza

So I know it’s almost the end of January but I’m still reminiscing about the holidays.

My New Years Resolutions/Goals:

  • Improve Photography
  • Eat a mostly Vegan Diet
  • Work on my Fitness

PHOTOS: My aunt & uncle bought me a wonderful tri-pod for my camera and I can definitely notice my pictures improving in quality. So exciting not to try to hold my camera perfectly still while taking a picture in the right light and getting so nervous my hands shake anyway! Now I just need to figure out all of the rest of those photography tricks… lighting, composition, aperture…

FOOD: I can’t say it hasn’t been difficult. The first week was easy shmeesy & it’s definitely easier than I THOUGHT IT WOULD BE. Aaaand I thought cheese would be the killer. But I get some serious egg cravings. Oh. My. Lord. On the other hand, I made Cathy’s (from What Would Cathy Eat?…. LOVE HER) Chocolate Cake the other day. Um, so freaking good it’s unbelievable. Seriously, I still hardly believe it. And I can guarantee it’s going to be my go-to-chocolate-cake for a long time. Oh, and I made some really incredible vegan biscuits using the FIVE INGREDIENT Baking Powder Biscuit recipe on the side of the container. Using soy milk, of course. 3 times in one week. They’re that good.

FITNESS: Okay, I was slow to start this goal. Last week I finally got my arse on the elliptical & then tromped up & down the stairs for what felt like forever… okay, only 5 minutes… but climbing stairs is SERIOUS. Mom also signed us up to do 6 yoga sessions starting in February & hopefully I’ll remember enough to do it on my own. Seriously girls, who doesn’t love yoga? But mostly I like exercise that doesn’t feel so mechanical. Hiking, anyone?

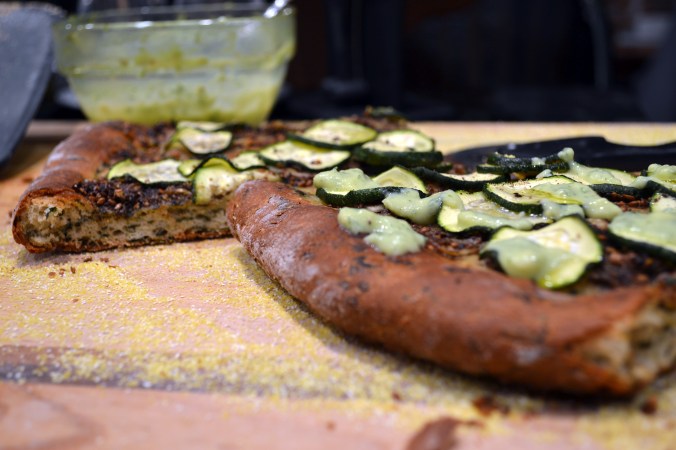
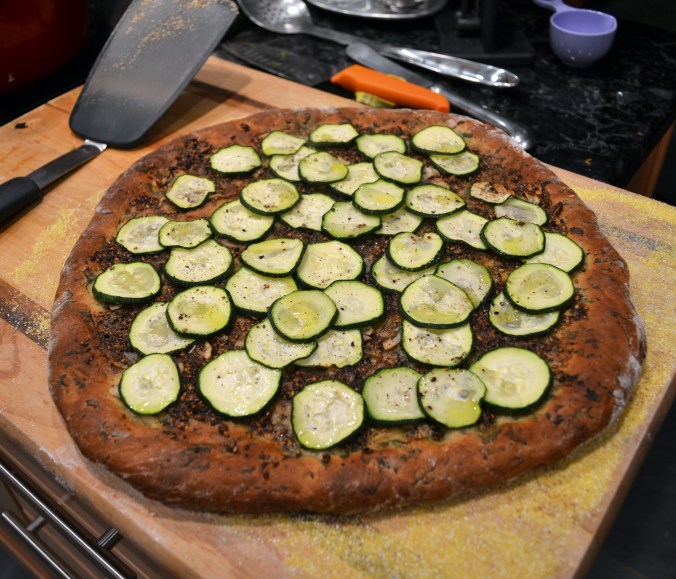
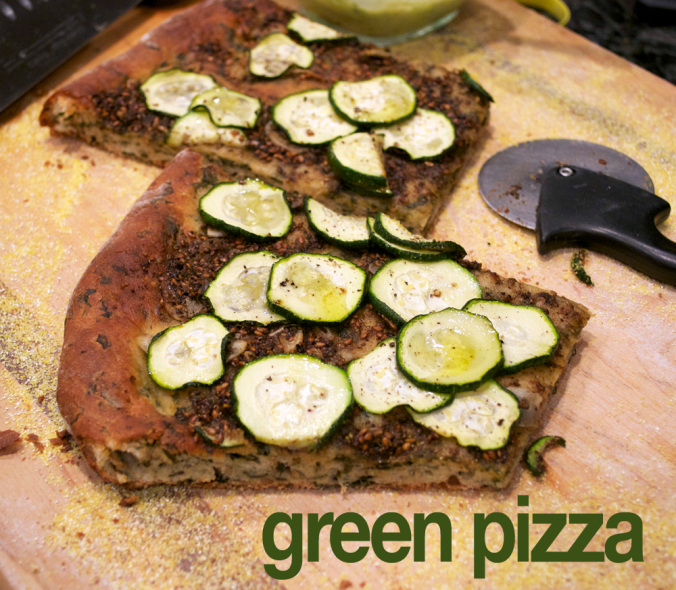
Okay, okay, the pizza! Now, I call it green pizza because when I was thinking of what I wanted for dinner the other night I had that annoying craving for both a big salad & a greasy pizza. Does anyone get that? I guess so, otherwise why are there so many Olive Gardens & shit? This pizza definitely could have been greener (and obviously there’s not a salad on top), but I used what I had on hand! I found a recipe for a Spinach pizza crust a couple of weeks ago and I was dying to make a spinach crust ever since (I couldn’t find frozen spinach at Fresh Market). I even dreamed about it. The recipe for their fresh veggie pizza looked incredible too (i’m salivating) and must be veganized soon. I also knew I wanted to make an avocado cream sauce to drizzle on top. So I just had to figure out the middle. I’m already devising plans for a Mega Green Pizza. It shall be even greener & mightier… probably with a huge salad on top.

Green Pizza

Crust:

  • 3/4 Cups Warm Water
  • 1 Packet Yeast
  • 1 1/2 Tbsp Sugar
  • 1 Tsp Salt
  • 1 Package (5oz) Fresh Spinach
  • 2 Cups AP Flour
  • 1/2 Cup WW Flour
Topping:
  • 1 Medium Zucchini, sliced thin
  • 3 Tbsp Olive Oil
  • 2 Cloves Garlic, paper thin slices
  • 2 Tbsp Zaatar
  • Salt & Pepper
Avocado Cream:
  • 1/2 Avocado
  • 2 Handfuls Fresh Dill, chopped
  • Juice 1/2 Lemon
  • 1/4 Soy Milk (or oat, almond, etc)
  • Salt & Pepper

The crust is so easy. Combine the warm water, yeast, sugar & salt in a large bowl. Let sit until the yeast has softened and “activated.”

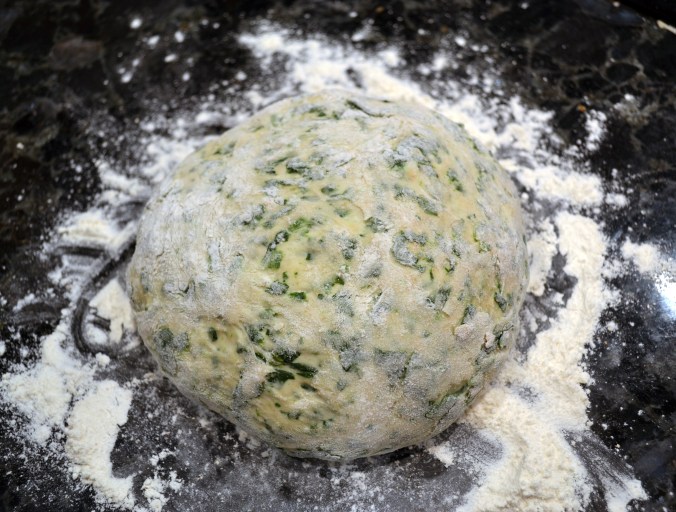
Next, you want to wilt/cook the spinach in a saute pan until it’s just cooked… aka, all the spinach leaves have withered. Then you can choose… I was lazy and didn’t feel like getting out the food processor so I chopped up my cooked spinach into tiny bits. You might find it even more lazy to just whiz it around the processor for a few seconds. My laziness was in the ‘cleaning it later’ part.

Stir the spinach into the yeast mixture. Add flour and stir with a wooden spoon to form a ball. You may need a bit more liquid depending on your spinach. Just enough to have a non-sticky dough. You want to be able to run your hand over it without being covered in gooey dough.

Let sit for about 20 minutes.If you have a pizza stone, now is the time to put it in the oven. Pizza stones are amazing. While the dough is rising (just a tiny bit), preheat your oven to 425F. Sprinkle either a large wooden cutting board or a pizza peel with plenty of coarse cornmeal. Then, on a floured surface, begin to shape dough. I usually just use my fingertips to push the dough outward, rotating it to make a circle. If it seems sturdy i’ll pick it up and pull on it some. When it’s about the shape & size you want it, place the dough on the cutting board/peel. If you need to you can reshape it some.

I always pre-bake my crust to ensure it achieves it’s absolute crispiness. If you have the pizza stone this isn’t really necessary, but if you’re a crispy crust lover like myself you can pop it into the oven for about 5 minutes before adding the toppings. If you don’t have a pizza stone use a round baking sheet and if you don’t have a round baking sheet then make a rectangular pizza 🙂

To make the sauce just combine the zaatar, olive oil, garlic, salt, and pepper in a small dish. It should be like a paste. Spread on dough. Cover with zucchini slices and bake for about 15 minutes. Honestly, the baking time will vary with how dark/crispy you like your crust and how baked you want your zucchini. I pre-baked my crust on a pizza stone so mine turned out quite dark but my zucchini was just cooked, not browned.

While the pizza is baking make the avocado cream sauce. SO good. Mash the avocado in a small bowl… you can use the same one you used for the zaatar olive oil mixture to save dishes. Or if you want to be a professional, you can go ahead and use your food processor. Whatever you prefer. Add the rest of the ingredients… the dill, the soy milk, the lemon juice and the salt & pepper and combine until thin enough to drizzle with minimum chunkage. LOL.

Pull the pizza out of the oven and drizzle with sauce… and dunk the crust in as well. It’s good. For real.

I know, I know, so late… But I want to know what everyone else’s goals are this year! What were your New Years Resolutions and have you been sticking to them? What have your greatest challenges been so far?
Homemade Rye Bread

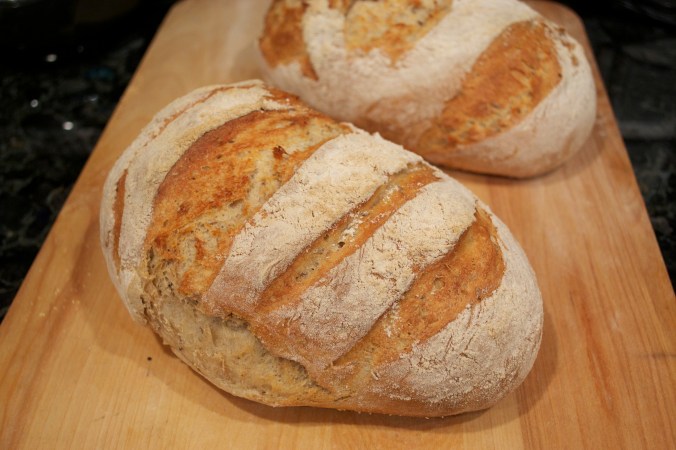
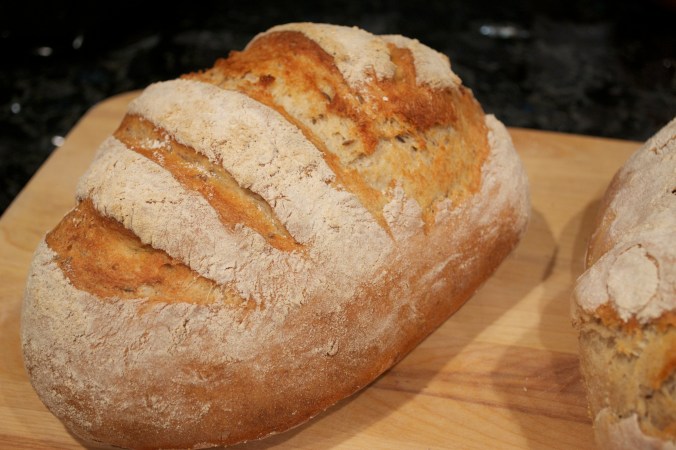
I received some wonderful cookbooks for Christmas, one of which is called Artisan Bread in 5 Minutes a Day by Jeff Hertzberg & Zoe Francois. And it has amazing recipes for AWESOME bread. The first one I made was the Rye Bread. Oh hell yes. It turned out so well I was stunned. And it looks perrty tooo. I also made the European Peasant Bread and changed the flour proportions slightly and it was incredible too. Seriously. Make this bread. It’s also really fun making your own bread (and extremely inexpensive). And relatively easy.

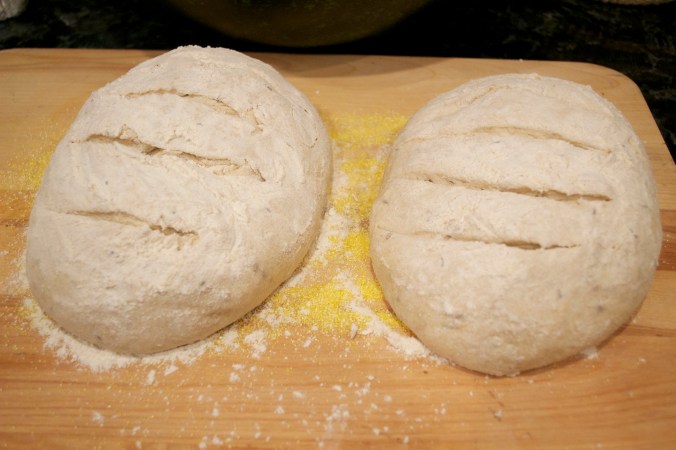
I split the recipe in half. The original recipe is supposed to make four 1lb loaves. I made one loaf with half of the recipe so I guess it was 2lbs. It wasn’t particularly large by any means and it was completely eaten in less than 24 hours. Yeah, it was really freaking good. The caraway seeds give the bread it’s flavor so don’t even thinking about leaving them out. You can also replace the flour top for a cornstarch wash with extra caraway seeds sprinkled on top but I love the look of the floured crust. I can’t even convey how good this bread is.

Deli Style Rye

Recipe adapted from Artisan Bread in Five Minutes a Day by Jeff Hertzberg & Zoe Francois.

Makes four 1lb loaves or two 2lb loaves.

  • 3 Cups Warm Water
  • 1 Tsp Sugar
  • 1 1/2 Tbsp Yeast
  • 1 1/2 Tbsp Salt
  • 1 1/2 Tbsp Caraway Seeds
  • 1 1/2 Cup Rye Flour
  • 5 Cups AP Flour (plus extra for crust)
  • Coarse Cornmeal
  • 1 Cup Hot Water

Combine warm water, sugar, yeast, salt & caraway seeds in a very large bowl. I usually let it sit to let the yeast soften but Hertzberg & Francois insist it isn’t necessary. Add all of the flour and stir with a wooden spoon to combine. All the flour should be absorbed but the dough shouldn’t be sticky or too wet. It should hold it’s shape. Cover the dough and allow to rise for approximately 2 hours or until about double in size or until the dough has a completely flat & level top. Just give it two hours in a relatively warm spot in your house and you’re good to go.

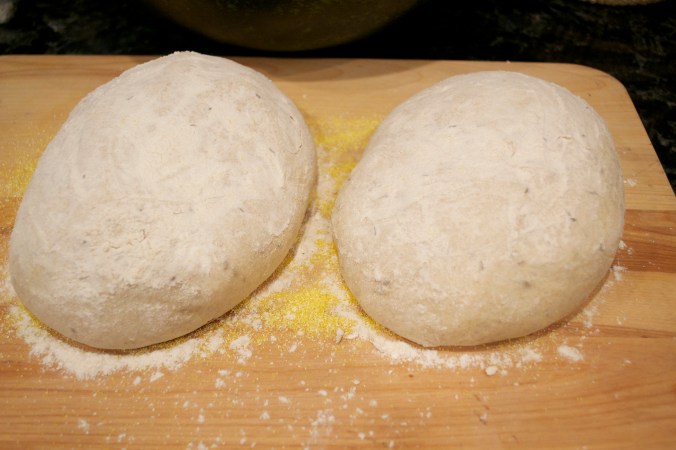
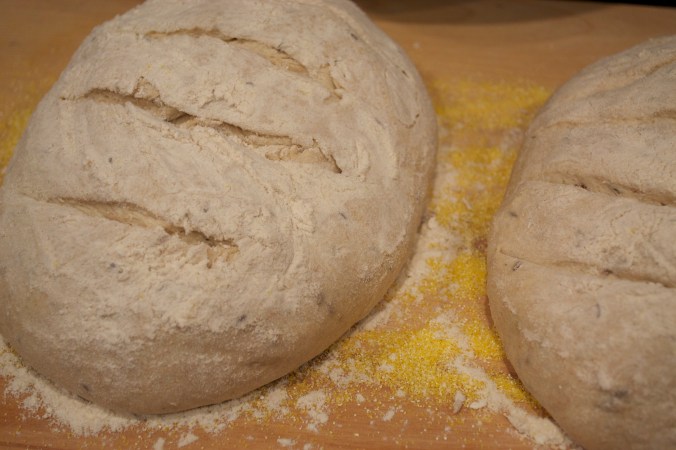
When the dough has finished rising, preheat your oven to 450F degrees. Place a pizza stone in the oven on a center rack and allow it to reach oven’s temperature. Cover a pizza peel with cornmeal. If you don’t have a pizza peel, like me, a large wooden cutting board will do the trick. Divide the dough into the desired number of loaves and shape into oval by pulling the top of the dough towards the bottom of the loaf while turning it and elongated the loaf when you’ve accomplished a smooth top. Don’t worry about the bottom not being smooth, it will cook into a nice flat, crunchy crust. Let the loaves sit on the prepared pizza peel/cutting board for about 40 minutes before baking. Cover each loaf with about 1tbsp of flour and spread with your hand. Make 5 slashes across the top with a serrated knife.

Just before baking the loaves, fill a boiler pan with 1 cup of water and add to oven. I used a baking dish because I don’t have a boiler pan and merely put it on a lower rack in the oven. The steam from the water is what gives the bread it’s crunchy crust.

Shimmy the loaf of bread (or loaves, I’ve done two at a time) onto the pizza stone, making sure they are spaced far enough apart to have plenty of room to double in size. Bake for 30 minutes until the crust is a deep amber brown then remove from oven and let cool. I don’t have that kind of patience so naturally my bread was still pretty hot when I cut into it but I recommend letting it cool because the dough will still be cooking a bit with all that trapped heat.

The bread is even better after it has had time to rest. I recommend it toasted and dunked into winter soups. SO DELICIOUS.

Almond Lemon Drops

So HELLO again world. Sorry I’ve been MIA. I’ve been applying to graduate school programs and enjoying the holidays. My new year’s resolution was also to eat a completely vegan diet & it’s been way easier than I thought. Okay, I lied… I have not and probably never will stop eating honey. But eggs, cheese, milk, butter… all gone. Wish me luck.

I actually wrote this post prior to Christmas and never posted it!

Lately, I’ve been searching for vegan cookie recipes for Christmas. Christmas cookies have to vary, you can’t just have peanut butter, chocolate chip, and oatmeal raisin. You have to have fudge, meringues, chocolate chip (okay, yes), black walnut cookies, chocolate/peanutbutter/butterscotch chex mix (KILLER), eggnog flavored hoopla & peppermint bark shenanigans. Basically 1/2 random shit that you don’t have all the time… and some traditional things too. So trying to make them all vegan and still delicious is a chore. I did find some amazing looking recipes where the recipes were relatively simple, not requiring “flax eggs” or “Ener-G” egg replacer (of which I’m about to buy my first batch). Just plain old vegetable shortening instead of butter. If I have to make substitutes I like to make few. I hate recipes that call for a zillion substitutes at once… fake butter, fake eggs, some seaweed powder, some protein powder. Like… what? I’m just being snotty, I bet those recipes are delicious, but frankly I don’t have all those ingredients so I’m trying to stick with simple.

ANYWHO. Say hello to Lemon Drop cookies. I found some recipes for lemon drop cookies. And I found some recipes for Mexican/Italian Wedding cookies (seriously, they’re really freaking similar – who knew Mexicans & Italians shared wedding cookie recipes). I wanted a hyprid cookie. I made a list this morning of all the dry goods I’ve purchased this year (mostly from Echo Hill). I have a TON of dry goods. I’m ready for the apocalypse. Amongst the 2 column, page long, collegiate ruled notebook paper list I made were raw blanched almonds, powdered sugar, various flours, vanilla, vanilla beans, blah, blah, blah, blah, +50things.

I was determined to put almonds in my cookies. So this is the recipe. And they are pretty damn good. Next time, I would use that extra lemon juice…

Almond Lemon Drops

  • 1/2 Cup Earth Balance (or margarine, or butter)
  • 1/2 Cup Vegetable Shortening
  • 3/4 Cup Granulated Sugar
  • 1 Tsp Vanilla
  • Juice of 1 Lemon
  • Zest of 2 Lemons (you gotta figure out what do with the 2nd lemon now 🙂 you can definitely use it in the cookies, in fact they could even use it, but I’d increase the flour by a couple of tbsps)
  • 1 Cup Almond Flour (a little more than a cup of raw almonds, food processor)
  • 2 Cups AP Flour (I actually used 1 cup Whole Wheat, 1 cup AP)
  • 1 Cup Powdered Sugar

Preheat Oven to 375 F degrees.

At room temperature, beat/whisk EB & shortening together until smooth and creaaaamy. Add sugar & beat some more. Add vanilla, lemon zest & lemon juice. Beat some more. Add almond flour and stir to combine. Add flour gradually until the batter is thick enough to shape into balls in your hand. Should not be very sticky.

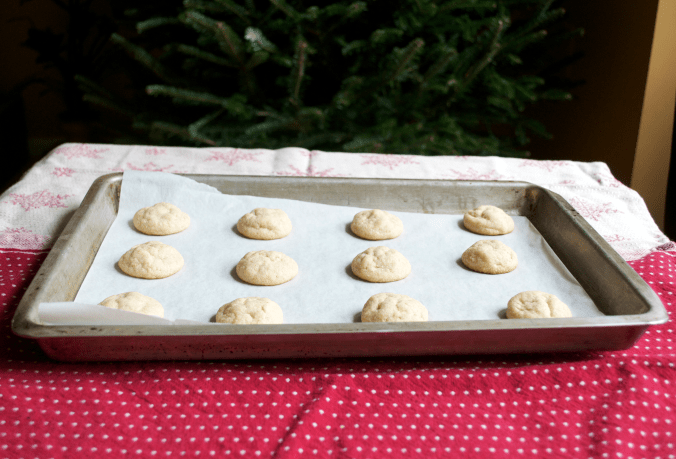
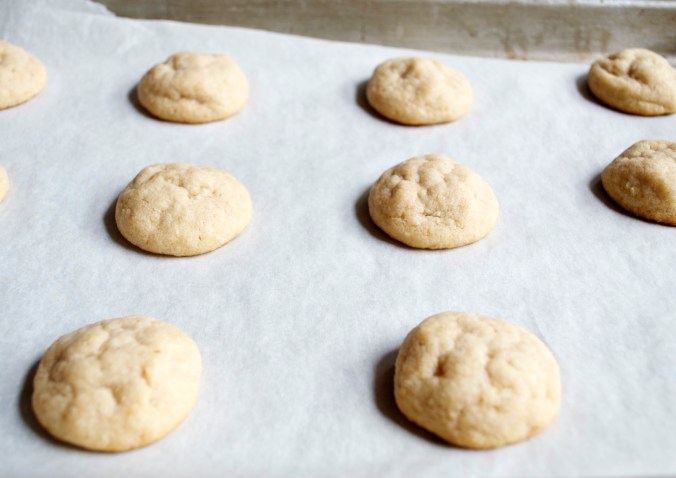
Line baking sheets with parchment paper. Form dough into tablespoon/golf ball sized balls and place on parchment paper at least 1.5 inches apart.

Bake for about 12 minutes on a center rack. Keep an eye on them. They won’t really brown on the top, but they may be get dark on the bottom.

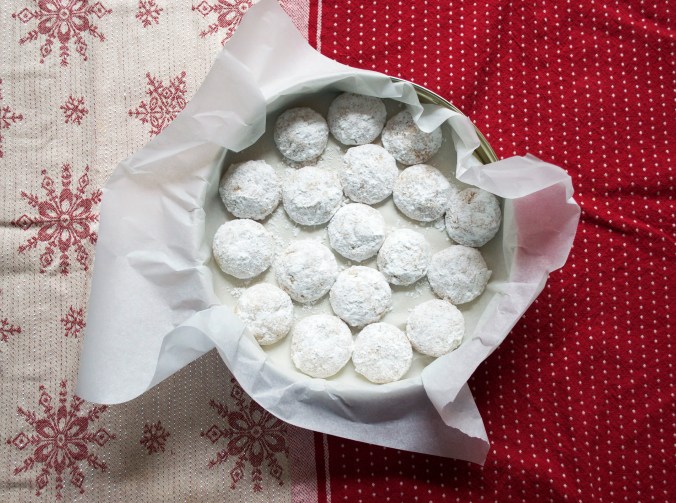
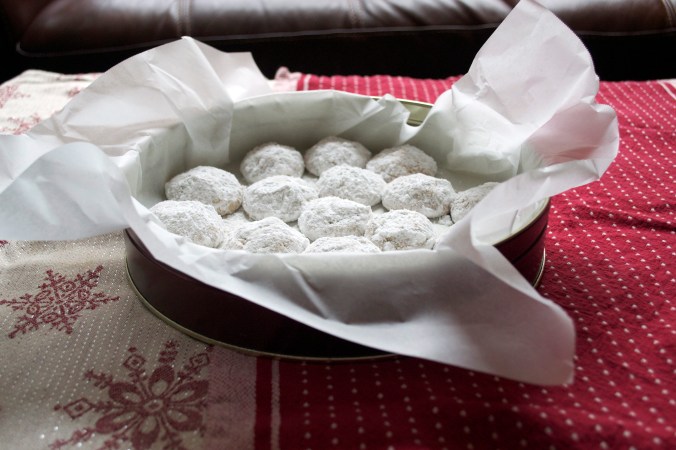
Let cool before coating in powdered sugar. SO yummy. SO easy.