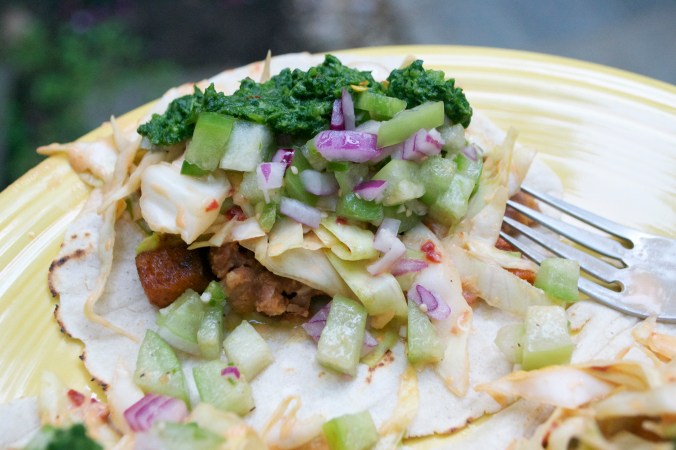
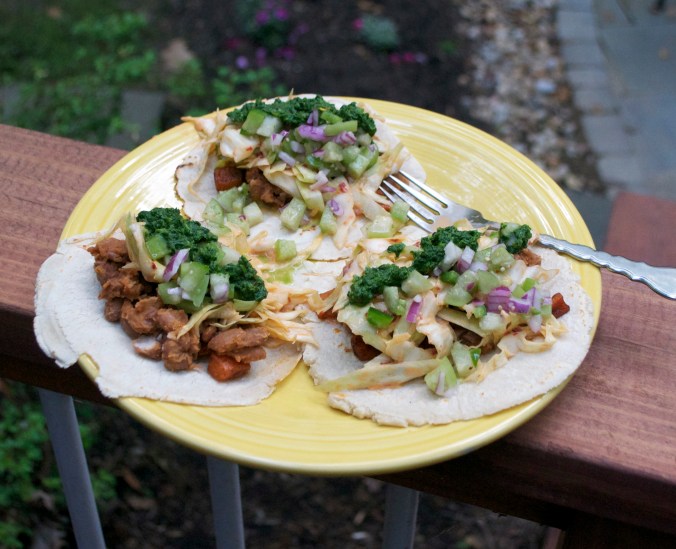
Sweet Potato, Pinto Bean, Tomatillo Tacos w/ Chipotle Slaw & Cilantro Chimichurri

It’s a mouthful because they’re a mouthful. These tacos were inspired.

Inspired by Paladar Latin Kitchen. And man. Are. They. Good.

I mentioned that my Aunt Julia gave me a wonderful gift on the day of my brother’s wedding… didn’t I? A tortilla press!!! We’ve already made tortillas with them several times, as tacos are one of my all-time favorite eats. And I can say that it was definitely easier to use than trying to smush the tortillas into flat discs with a pyrex pan. Tortillas are absolutely worth making homemade. Especially if you love tacos.

Sweet Potato, Pinto Bean, Tomatillo Tacos w/ Chipotle Slaw & Cilantro Chimichurri

Makes 12 Tacos

Tortillas:

We make our own using Masa (Maseca), water, & salt. We follow the recipe on the back of the Maseca bag & always end up adding a little additional water to feel. You dry fry them in a skillet on high heat for a few seconds on each side. I personally like to add a little oil for a touched of fried flavor.

Filling:

  • 2 Cans Pinto Beans
  • 1 Clove Garlic, minced
  • 1 Tbsp Chili Powder
  • 1 1/2 Large Sweet Potatoes
  • 2 Tsp Cinnamon
  • 2 Tsp Cumin
  • Olive Oil
Cut sweet potato into small 1/2 – 1 inch squares. Toss with cinnamon, cumin & olive oil. Roast on a baking sheet at 450F for about 30 minutes, flipping once or twice.
In a medium saucepan, sautee garlic just slightly before adding the pinto beans & chili powder. Heat over medium-low. You may want to add a bit of water so they don’t dry while preparing the other ingredients.
Chunky Tomatillo Salsa:
  • 7 Medium Tomatillos, diced
  • 1/4 Red Onion, fine diced
  • 1 Clove Garlic, minced
  • 1 Jalapeño, minced
  • Juice of 1 Lime
  • Salt & Pepper
Combine the diced tomatillo, onion, garlic & jalapeño. Toss in lime juice & sprinkle with salt & pepper.
Chipotle Slaw:
  • 1 Head of Cabbage, finely shredded
  • 1/4 Cup Veganaise
  • Juice of 1 Lime
  • 2 – 3 Chipotles from canned chipotles in adobo, minced
  • 1 Tbsp Adobo Sauce, from can
Combine all ingredients in a large mixing bowl & toss to coat thoroughly. You can make the sauce separately first but it’s not a necessary step.
Cilantro Chimichurri:
  • 1 Bunch Cilantro
  • 2 Cloves of Garlic
  • 1 Jalapeños
  • Juice of 1 Lime
  • 1/4 Tsp Red Pepper Flakes
  • 1 Tbsp Olive Oil
  • 1/2 Tsp Salt

Add all ingredients to a blender or food processor. Puree.

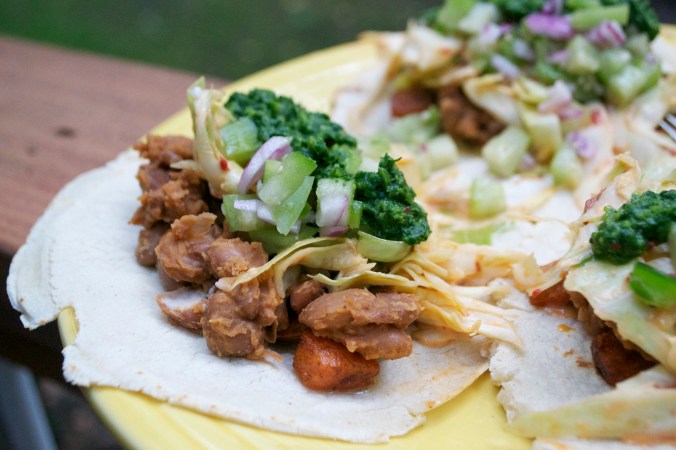
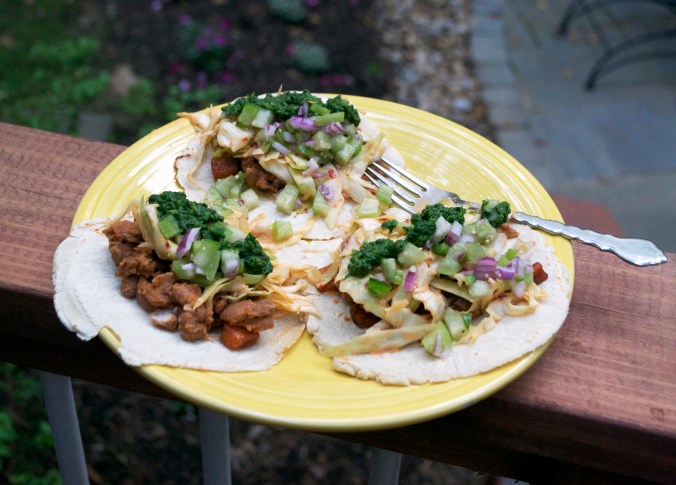
I like to layer them with the sweet potatoes on the bottom, then the pinto beans. Top the filling with the chipotle slaw, spoon on some chunky tomatillo salsa then bathe the top with that cilantro chimichurri. Now, DIG IN. And Enjoy : )

These tacos are NOMLICIOUS. They are definitely ingredient intense but they are SO worth it. I don’t know if I could choose a favorite food or cuisine but I know I’d find it REALLY hard to live without Mexican/Latin food (it was pretty hard going 4 months in Germany with no decent Mexican, although the awesome Italian restaurant we frequented nearly made up for it).

What is your favorite cuisine? Do you love tacos as much as I do? Haha, of course you don’t. That was a silly question.

*I actually made these tacos at the beginning of the summer. Wow, did it take me a long time to post these. I promise it won’t take as long to make them as it took for me to post them!

Enjoy the last bits of summer as we move into Fall! Personally, I can’t wait! Although, I could definitely do without the darker days.
Mexican Chocolate Ice Cream

Continuing on my obsessive Rick Bayless kick…

(Okay, it’s really more of a Mexican food kick.)

And inspired by the ridiculous humidity here…

I give you….

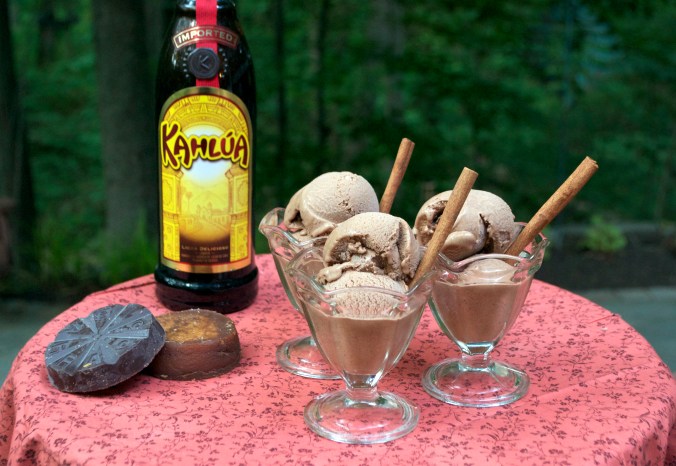
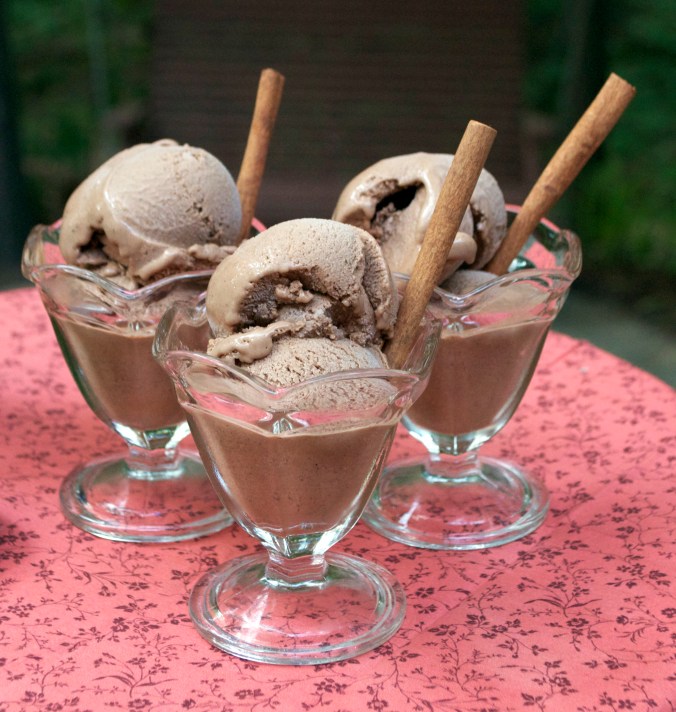
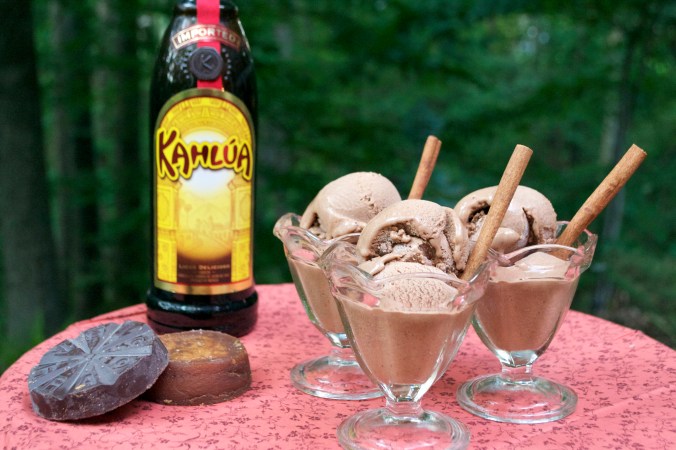
Mexican Chocolate Ice Cream. Oh. Yes.

I started seeing a lot of homemade ice cream recipes on Foodgawker months ago. People were obviously getting ready for summer early & had no self-control. Typical 🙂

From tropical sorbets to creamy, decadent peanut butter & chocolate combinations… everyone was making their ice cream at home. Still are… I think. So, naturally, I wanted in too. And I made a wonderful, albeit not very creamy, lemon-coconut ice cream (more like sorbet). It was very delicious but I used light coconut milk, despite all the information that said FULL fat and it wasn’t exactly creamy ice cream texture. We still ate it all. In April. In State College. It was still cold outside.

This Mexican Chocolate Ice Cream is like WHAM, full-on Mexican Chocolate flavor. It’s creamy and delicious. You can taste the cinnamon in the background & the kahlua emphasizes the powerful chocolate flavor. You can use ordinary chocolate, but the flavor profile will definitely be different. If you can find Mexican Chocolate (like Ibarra) I recommend you use it, at least in part. This would be delicious with any good quality chocolate. I mean, honestly, it would be good with any chocolate!

Mexican Chocolate Ice Cream

2 Cans FULL Fat Coconut Milk (15 oz)

6 oz Mexican Chocolate

2 oz Piloncillo/Panela (Mexican Sugar*)

3 Tablespoons Kahlua

1/2 Tsp Vanilla

1 Tsp Cinnamon

1. Heat coconut milk in a medium sized saucepan or pot over medium heat. You want it barely a simmer.

2. Add chocolate & sugar to melt. Stirring frequently.

3. When chocolate had melted & sugar has dissolved, add Kahlua & vanilla.

4. Bring mixture to a boil. This helps reduce the mixture – hello creaminess.

5. Boil gently for about 4 to 5 minutes, stirring constantly.

6. Remove from heat and let cool a bit before pouring into a large container for refrigeration.

7. Refrigerate for at least 1 hour. Or until mixture is cold & ready for the ice cream maker.

8. Pour into prepared ice cream maker & follow directions for your particular appliance.

9. Freeze.

10. EAT.

*Brown sugar is an acceptable substitute.

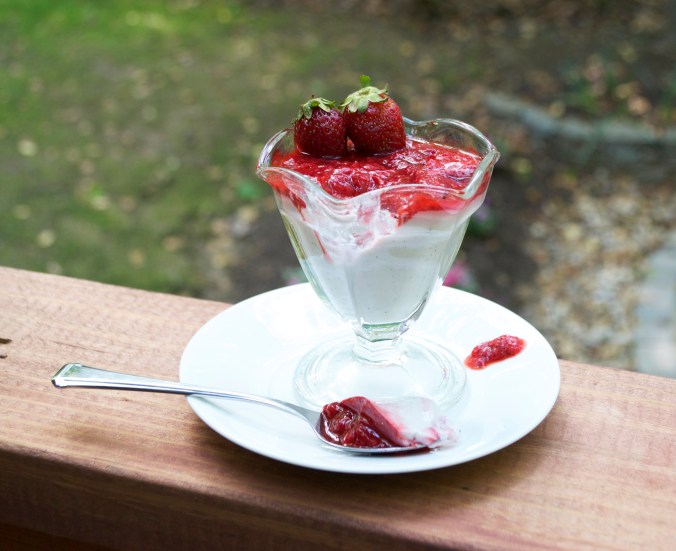
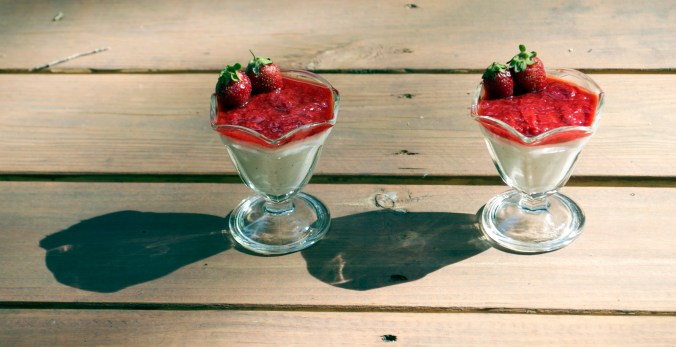
Vanilla Bean Panna Cotta with Strawberry Sauce

I’ve been wanting to make this Vanilla Bean Panna Cotta for a while now. When I first began perusing vegan recipes I came across the ingredient Agar Agar as a substitute for gelatin. Of course, I had to buy this unique ingredient when my favorite store, Echo Hill, suddenly stocked it after I mentioned it once. They offered both the powder & the flakes but as the flakes were much more expensive I, of course, purchased the powder. Then I felt doomed when I went to search for recipes using Agar Agar and found they all called for the flakes.

Until I came across an excerpt in Hannah Kaminsky‘s Vegan Desserts in which she says she prefers to use the powder. HALLELUJAH. I also love her blog Bittersweet – thus why I was checking out her cookbooks. After I made this discovery about Agar Agar powder, I immediately found her recipe for Lemongrass Panna Cotta. Okay, that was it, I was going to make some darn yummy vegan Panna Cotta.

And I did.

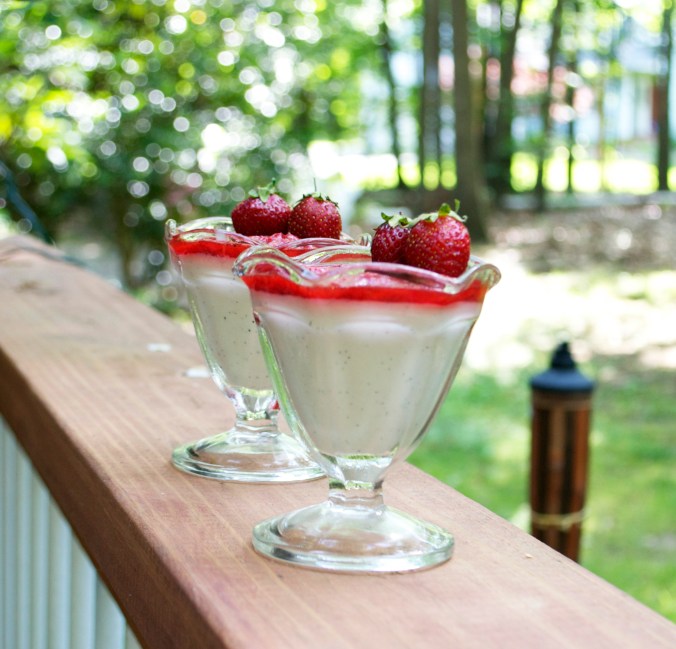
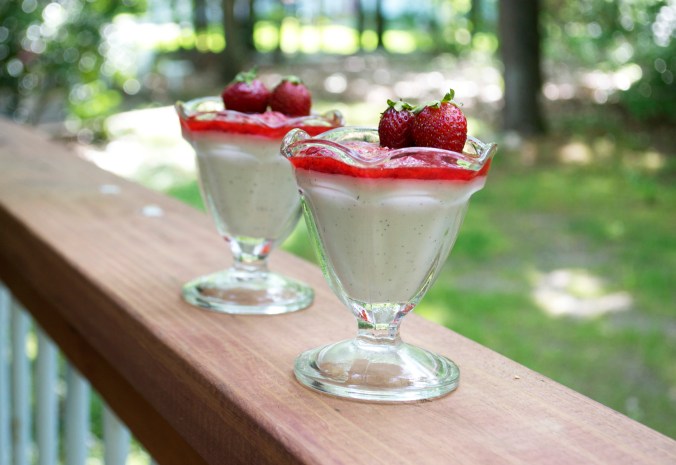
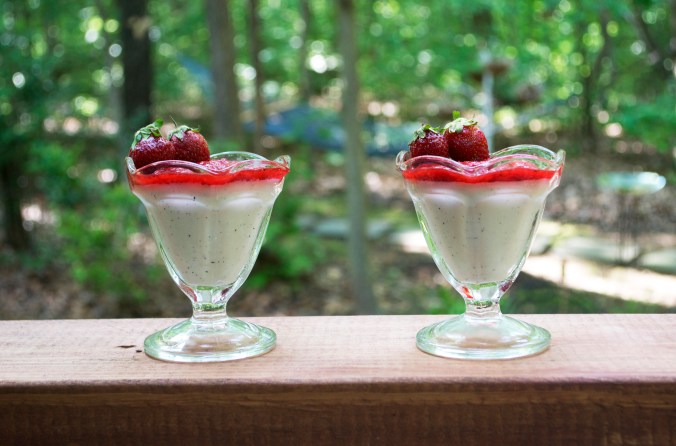
This dessert is so simple & elegant. The texture is silky & smooth. The flavor is wonderful and unique. And the strawberry sauce is the perfect compliment with a splash of brightness. It embodies summertime. In your mouth. So I suggest you make it. And then eat it.

Vanilla Bean Panna Cotta with Strawberry Sauce

    2 Cans Coconut Milk, Full Fat

2 Vanilla Beans

1/4 Cup Sugar

2 1/2 Tsp Agar Agar Powder

1 Cup Fresh Strawberries, sliced & mashed

1 Vanilla Bean

3 Tbsp Sugar

1/2 Tsp Cinnamon

Before you start… You’ll need about 6 5oz dishes or 8 4oz dishes. So maybe get out about 7 ; )

In a small bowl combine your sugar & agar agar thoroughly. Set aside.

In a medium saucepan, over medium heat, combine your coconut milk & the scrapings from your 2 vanilla beans. When the coconut milk is hot add the sugar mixture. Whisk gently & increase heat to high. Bring the coconut milk to a boil while continuing to whisk gently. Boil for about a minute or two.

Pour into various ramekins/small dishes.

Let sit at room temperature for 30 minutes to 1 hour before putting in the refrigerator for 1 to 2 hours. If you move the mixture into the cold too soon the mixture could separate.

For the Strawberry Sauce:

In a small saucepan, over medium-low heat, combine the smashed strawberries, vanilla bean scrapings, sugar & cinnamon. Allow to cook over heat for about 10 minutes until the strawberries completely break down. Stir frequently to prevent it from burning.

Pour evenly on the dishes of chilled panna cotta & serve or return to refrigerator to allow sauce to chill. Whichever you prefer! I served it both ways. I think I prefer the cold.

Don’t forget to serve with spoons 😉

I used the vanilla beans liberally because I bought them in bulk at a very good price. You can substitute a teaspoon or two of pure vanilla extract if you don’t have vanilla beans or don’t want to use 3 in one recipe. I definitely recommend at least one for the panna cotta… the tiny black vanilla bean specks are so wonderful to see!