Every Thanksgiving we have a crowd of around 30 family members. I don’t know how long we’ve been doing it, but we always get part of our Thanksgiving dinner from Congressional Country Club…. that means one of the turkeys, some extra mashed potatoes, green beans, cranberry sauce, gravy, stuffing, *lobster bisque*, and of course… rolls. This is done (I hope & think) so that there’s enough food for everyone’s family to have leftovers. (Of course, we also employ a potluck style method where everyone makes a little somethin somethin. There’s homemade macaroni & cheese, homemade sweet potato casserole, homemade oyster stuffing, homemade mashed potatoes, homemade stuffing, two deep fried turkeys, homemade kale, homemade corn pudding, etc. You get the picture, we have an absolute shit ton of food.)
Anyway, my parents come home with a HUGE box full of Congressional food and one tiny white cardboard box that looks like it must contain pastries. No. It contains 12 dinner rolls. TWELVE. MA, we’re gonna need a few more rolls!!!
No fear, I pull out my handy dandy Amish Cook’s Baking Book, find the “Top-Notch Dinner Rolls” (that’s really what they’re called) recipe on Page 66 and work on making about 30 more dinner rolls. So my brother, Fred, helped measure the ingredients for the dough and we let it rise. Then I formed the rolls, let them rise again, and finally baked… perfection.
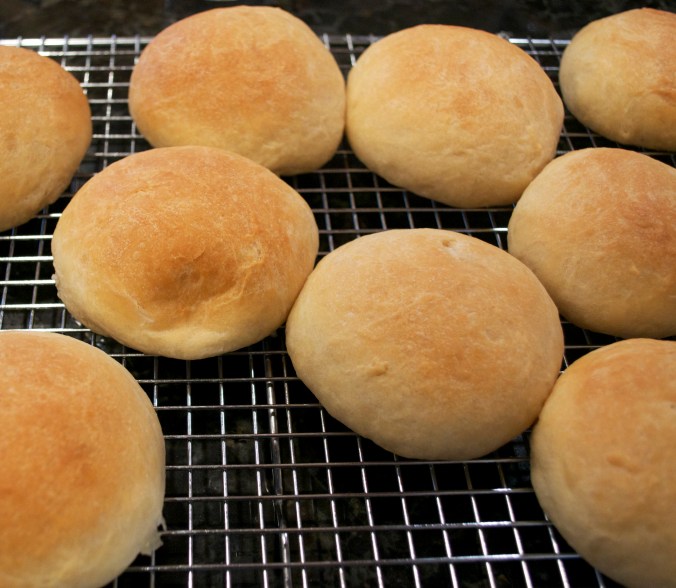
The rolls turned out FREAKING AMAZING. Besides the ones that were burnt on the bottom from being on a very low rack… hey, it’s thanksgiving and we only have one oven.
Top-Notch Dinner Rolls from The Amish Cook’s Baking Book
(slightly adapted, but barely)
- 1 Cup Warm Water
- 2 Packages Active Dry Yeast (for those of us who buy in bulk, I used a little less than 2 Tbsp)
- 1/2 Cup Plus 1 Tbsp BROWN Sugar
- 1 !/2 Cups HOT Water (I stress the HOT because the shortening is supposed to melt… didn’t happen for me)
- 1/2 Cup Softened Shortening (maybe this is why mine didn’t melt)
- 2 1/2 Tsp Salt
- 5 Cups Bread Flour, plus more as needed (I think I used about an extra 1/2 Cup)
In a small bowl combine warm water, yeast, and tablespoon of brown sugar. Stir and let sit for around 10 minutes or until yeast are activated and top of mixture becomes foamy.
In a LARGE mixing bowl combine HOT water, BROWN sugar, SOFTENED vegetable shortening, and salt. When the mixture is no longer hot (don’t want to kill the yeast), add yeast mixture and stir to combine.
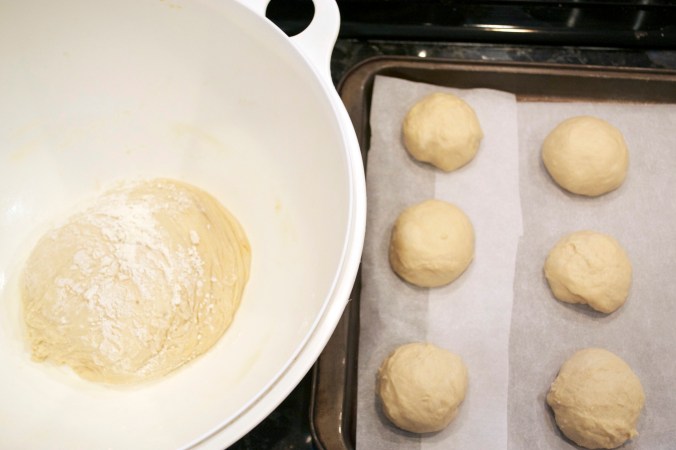
Add Bread flour one cup at a time, stirring between each addition. I like to use a wooden spoon to combine everything at this point. After the 5 cups of flour the dough should begin to shape into a ball and no longer stick to the sides of the bowl. Mine was still a bit sticky as I turned it so I sprinkled it continuously with flour until I could move it to another large, clean and greased bowl to let it rise. I’d say it was about 1/2 cup of extra flour. Lovina says “Work in just enough more flour to make a soft but not sticky dough.”
Cover and let rise until doubled in size, about 1 hour give or take. I covered mine in a dry dish towel, plastic wrap works too… or both! After the dough has done all it’s rising, punch down, and let sit for 10 minutes.
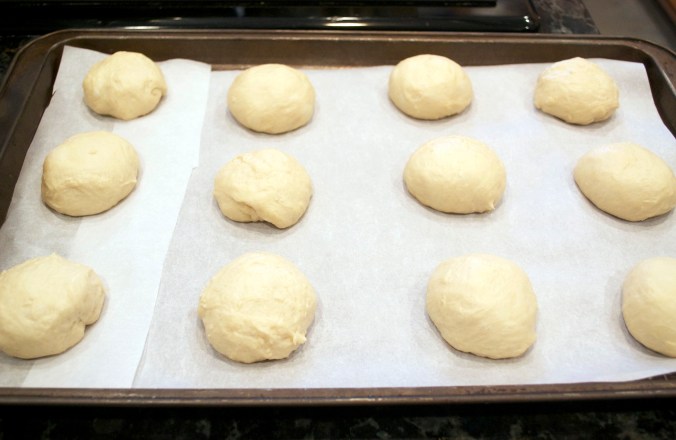
Like about 3 baking sheets with parchment paper. Begin to form rolls! It’s basically like kneading a tiny loaf of bread. You just tuck it over itself until it’s round. Leave enough space in between the rolls for another period of rising & doubling in size. If they touch a little bit after they rise/bake – no big deal, they’ll pull apart easy as pie. After you’ve filled your baking sheets with all your beautifully shaped little balls of dough, cover them and let rise another 45 minutes or so until doubled. We covered each sheet in plastic wrap and then covered it in a towel.
While the rolls are rising, heat the oven to 350 Degree Fahrenheit. Bake until golden brown… about 25 minutes. I highly recommend using the higher racks in your oven. The first batch I put in (on the top rack) came out perfectly. You could coat your rolls in melted butter (before baking), honey, or and egg wash. Once you’re finished baking the rolls, let them cool on a wire rack before serving.
These rolls made our turkey day house smell like AMISH baked bread. It was seriously divine. They turned out so well I was doing happy dances and telling everyone I made them. And if you don’t add anything to the top, they’re vegan!!!


