Amish (aka Amazing) Dinner Rolls

Every Thanksgiving we have a crowd of around 30 family members. I don’t know how long we’ve been doing it, but we always get part of our Thanksgiving dinner from Congressional Country Club…. that means one of the turkeys, some extra mashed potatoes, green beans, cranberry sauce, gravy, stuffing, *lobster bisque*, and of course… rolls. This is done (I hope & think) so that there’s enough food for everyone’s family to have leftovers. (Of course, we also employ a potluck style method where everyone makes a little somethin somethin. There’s homemade macaroni & cheese, homemade sweet potato casserole, homemade oyster stuffing, homemade mashed potatoes, homemade stuffing, two deep fried turkeys, homemade kale, homemade corn pudding, etc. You get the picture, we have an absolute shit ton of food.)

Anyway, my parents come home with a HUGE box full of Congressional food and one tiny white cardboard box that looks like it must contain pastries. No. It contains 12 dinner rolls. TWELVE. MA, we’re gonna need a few more rolls!!!

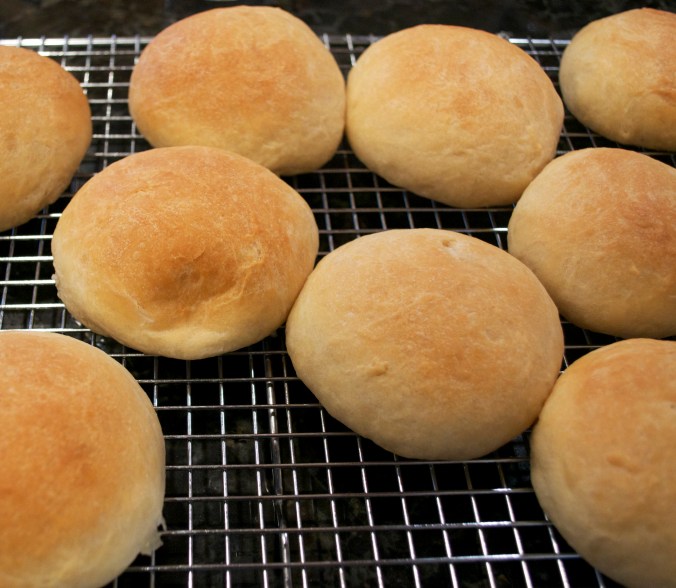
No fear, I pull out my handy dandy Amish Cook’s Baking Book, find the “Top-Notch Dinner Rolls” (that’s really what they’re called) recipe on Page 66 and work on making about 30 more dinner rolls. So my brother, Fred, helped measure the ingredients for the dough and we let it rise. Then I formed the rolls, let them rise again, and finally baked… perfection.

The rolls turned out FREAKING AMAZING. Besides the ones that were burnt on the bottom from being on a very low rack… hey, it’s thanksgiving and we only have one oven.

Top-Notch Dinner Rolls from The Amish Cook’s Baking Book

(slightly adapted, but barely)

  • 1 Cup Warm Water
  • 2 Packages Active Dry Yeast (for those of us who buy in bulk, I used a little less than 2 Tbsp)
  • 1/2 Cup Plus 1 Tbsp BROWN Sugar
  • 1 !/2 Cups HOT Water (I stress the HOT because the shortening is supposed to melt… didn’t happen for me)
  • 1/2 Cup Softened Shortening (maybe this is why mine didn’t melt)
  • 2 1/2 Tsp Salt
  • 5 Cups Bread Flour, plus more as needed (I think I used about an extra 1/2 Cup)

In a small bowl combine warm water, yeast, and tablespoon of brown sugar. Stir and let sit for around 10 minutes or until yeast are activated and top of mixture becomes foamy.

In a LARGE mixing bowl combine HOT water, BROWN sugar, SOFTENED vegetable shortening, and salt. When the mixture is no longer hot (don’t want to kill the yeast), add yeast mixture and stir to combine.

Add Bread flour one cup at a time, stirring between each addition. I like to use a wooden spoon to combine everything at this point. After the 5 cups of flour the dough should begin to shape into a ball and no longer stick to the sides of the bowl. Mine was still a bit sticky as I turned it so I sprinkled it continuously with flour until I could move it to another large, clean and greased bowl to let it rise. I’d say it was about 1/2 cup of extra flour. Lovina says “Work in just enough more flour to make a soft but not sticky dough.”

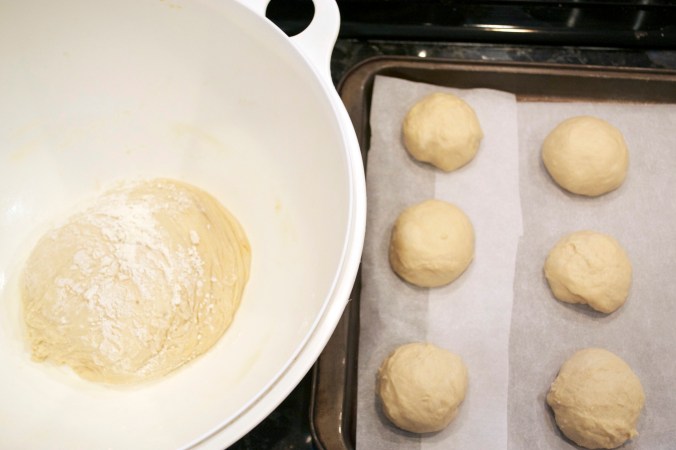
Cover and let rise until doubled in size, about 1 hour give or take. I covered mine in a dry dish towel, plastic wrap works too… or both! After the dough has done all it’s rising, punch down, and let sit for 10 minutes.

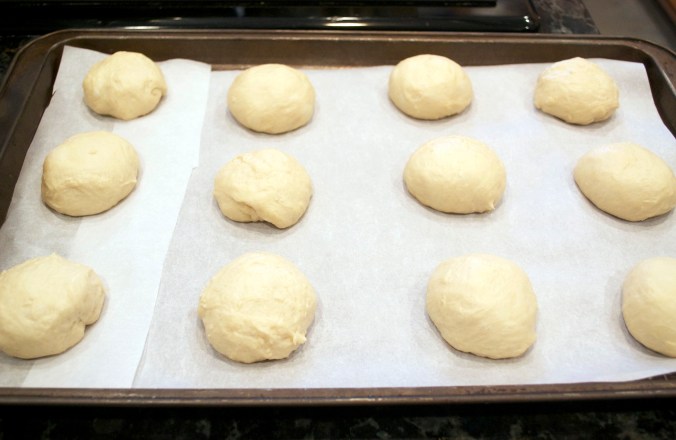
Like about 3 baking sheets with parchment paper. Begin to form rolls! It’s basically like kneading a tiny loaf of bread. You just tuck it over itself until it’s round. Leave enough space in between the rolls for another period of rising & doubling in size. If they touch a little bit after they rise/bake – no big deal, they’ll pull apart easy as pie. After you’ve filled your baking sheets with all your beautifully shaped little balls of dough, cover them and let rise another 45 minutes or so until doubled. We covered each sheet in plastic wrap and then covered it in a towel.

While the rolls are rising, heat the oven to 350 Degree Fahrenheit. Bake until golden brown… about 25 minutes. I highly recommend using the higher racks in your oven. The first batch I put in (on the top rack) came out perfectly. You could coat your rolls in melted butter (before baking), honey, or and egg wash. Once you’re finished baking the rolls, let them cool on a wire rack before serving.

These rolls made our turkey day house smell like AMISH baked bread. It was seriously divine. They turned out so well I was doing happy dances and telling everyone I made them. And if you don’t add anything to the top, they’re vegan!!!
Pumpkin, the fruit of fall.

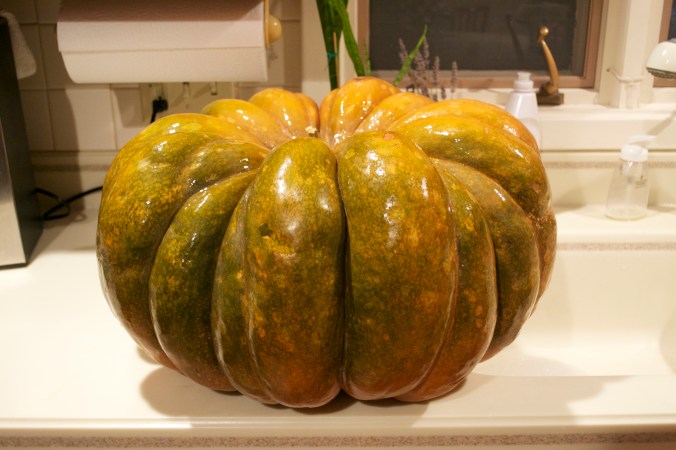
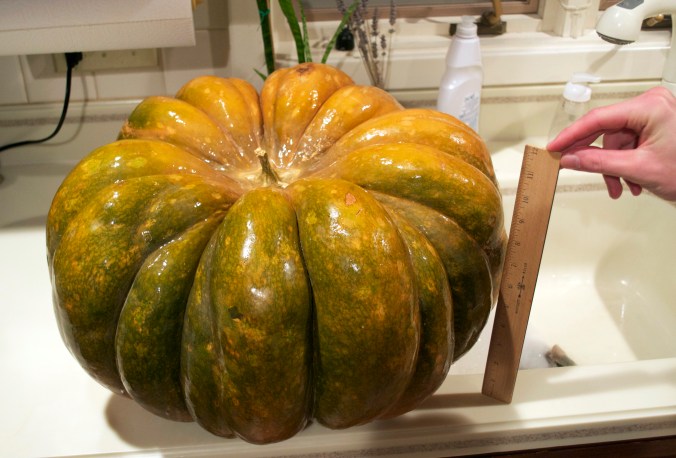
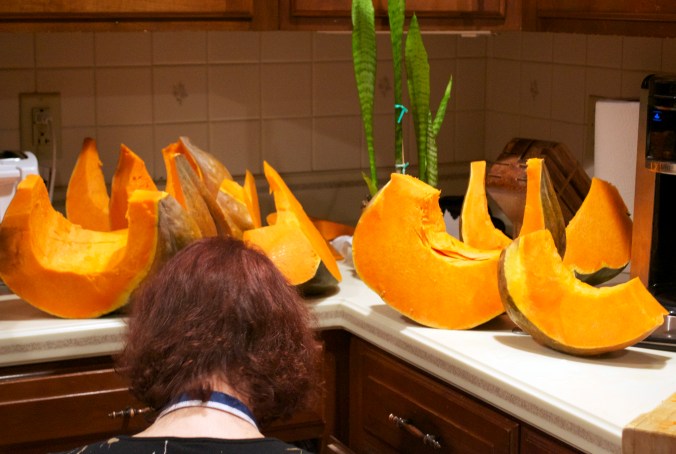
One of the first things Stephen’s father had to point out to me when I arrived in Kutztown… a very very large pumpkin they had sitting on their front stoop. Apparently it’s called a Cinderella Pumpkin. On the outside, it was a lovely green with pale orange (my pictures don’t do it justice). I believe it weighed somewhere around 60 pounds… and would therefore produce enough pumpkin for everyone in Kutztown to have some pumpkin pie for Thanksgiving.

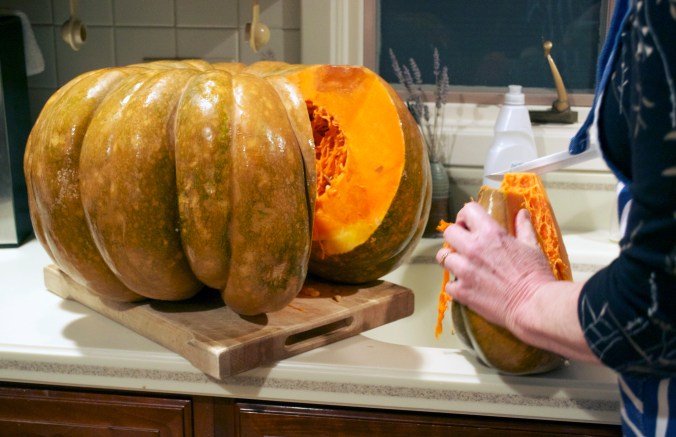
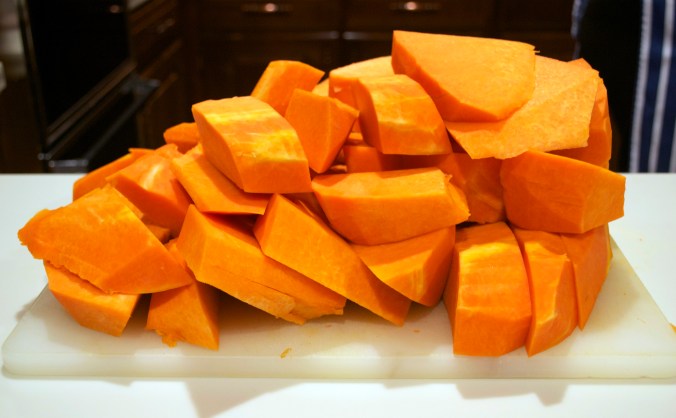
Stephen’s mom spent all of Tuesday night cutting the pumpkin into giant viking ship shaped wedges and then into large chunks to broil & steam and then puree. She really labored over this pumpkin in a very impressive way. Seeing as she had too much pumpkin for her to feasibly use in the next couple of yeeears she sent me home packing with two large bags of raw pumpkin squares and one large bag of puree. I was more than happy to take some extra pumpkin off her hands. I have plenty of ideas for delectable looking pumpkin dishes I want to make over the duration of the holiday season.


From sweet to savory there are so many amazing looking recipes floating around the web right now that call for pumpkin. Here are just a few of the delicious treats I plan to attempt…

Pumpkin Sage Risotto from The Edible Perspective

Vegan Pumpkin Pancakes from My Little Celebration

Pumpkin Corn Enchiladas from This Can’t Be Vegan

Baked Pumpkin Autumn Maple Doughnuts from Food + Words

Spiced Pumpkin Rolls from Sweet Pea’s Kitchen

Pumpkin Goat Cheese Ravioli from Once Upon a Cutting Board

Vegan Pumpkin Chili from Biscuit Batches

That’s my recipe roundup for PUMPKIN ideas. Don’t they all look amazing?? Please click on the pictures to see the original posts & recipes.

I also really really want to make a goat cheese & pumpkin pizza. Maybe with Kale or Spinach. I can’t decide how to make it. I’m thinking thin crust, slightly spiced pumpkin puree, creamy goat cheese, sautéed greens, and maybe a little pit of mozzarella or parmesan. Maybe even a little bit of fresh sage. Oh the possibilities! A  few months ago when my Aunt Holly, cousin Gabrielle & I went to visit my cousin Rachel in Providence, Rhode Island we had an incredible Pumpkin Pizza from Al Forno and I want to make my own version!

I can’t wait to dive in with the pumpkin recipes! I shall report back!

Love,

Kelley

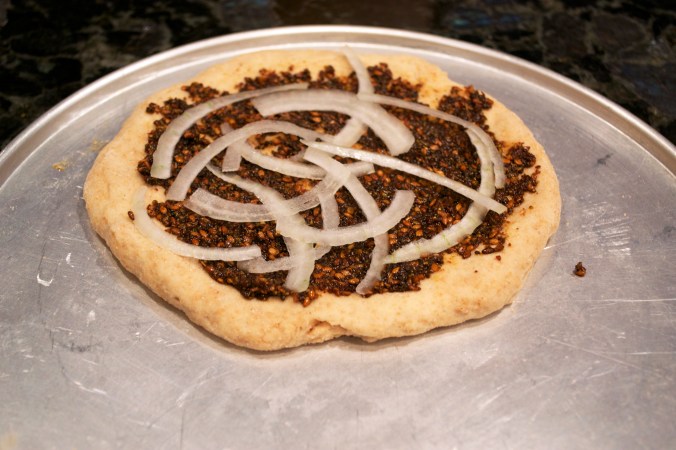
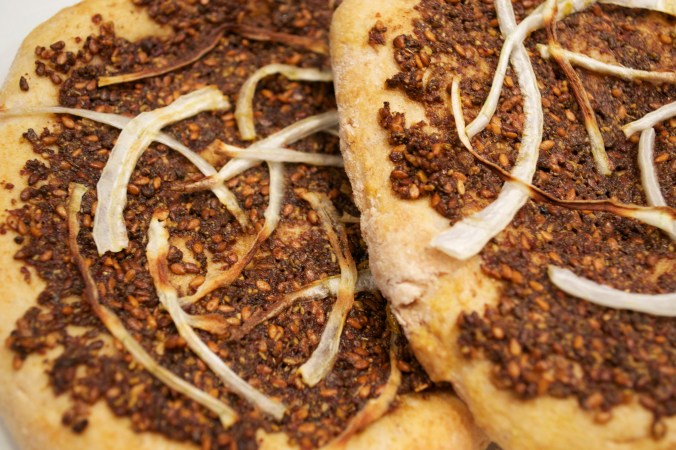
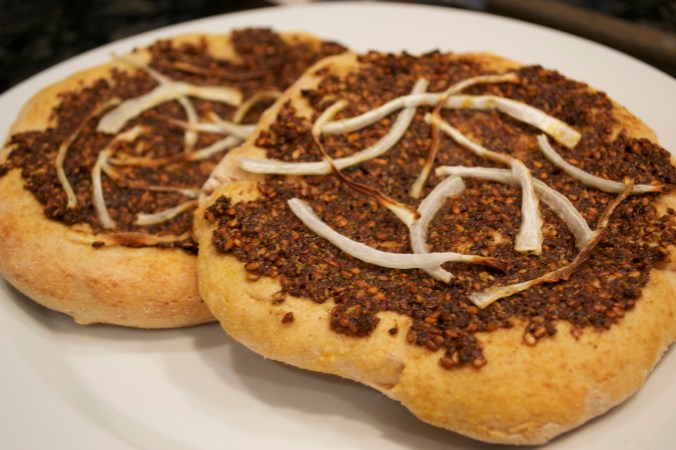
Mini Zaatar Pizzas

I don’t know if I’ve mentioned this but my ancestry is part Middle Eastern. My grandfather’s parents came from Syria & Lebanon. And that side of my family is HUGE. We have family reunions at the beach where 100 of us are trying to have dinner in 2 apartments. We have big feasts of stuffed grape leaves, hummus, baba ganoush, kibbe, kibbe nay, meat fatayers, spinach fatayers, pita, tabbouleh, baklava, mjadra, and more.

When we were growing up my cousins & I coveted the meat fatayers my grandmother made. Fatayers are little triangle shaped pies… sort of like the British pasty, except the fatayer dough is softer. We’d sneak into the kitchen at night and steal them out of the refrigerator. Clearly, I don’t eat them anymore, but there are so many great “beef crumble” substitutes that they’re practically the same when I make them today.

Though my grandmother is not of Middle Eastern descent (English all the way) she learned how to make all of the family recipes. She also raised 7 children while granddad honed his entrepreneurial skills to support his family. Last year she gave me one of her Lebanese cookbooks (she had 2 copies!) and I looked through it cover to cover over and over again. Since then, I’ve been trying to broaden my horizons to make more middle eastern dishes. I’ve also figured out how to make the perfect (in my opinion) Tabbouleh, which I shall post next time I make it.

Zaatar is a traditional Middle Eastern blend that usually contains a combination of the following: thyme, cumin, anise, coriander, fennel, salt, sesame seeds, lemon, pomegranate molasses, and sumac. I love sumac. It has a tart kick about it that is just so tasty. The first time I had Zaatar it was spread over pita bread with olive oil. I toasted it and ate it by itself. I ate all of it. It was so good – definitely comfort food.

Mini Zaatar Pizzas

For the Dough: (Makes 4)

  • 3/4 Cup plus 2 Tbsp Warm Water
  • 1 Pkg or 1 Tbsp Yeast
  • 1 Tsp Brown Sugar
  • 1 Tsp Honey
  • 1 Cup Bread Flour
  • 1 Cup Whole Wheat Flour
  • 1/2 Tsp Salt
  • 1/2 Tsp Sumac

For the Topping:

  • 1/4 Cup Zaatar (the more, the better!!!)
  • Black Pepper
  • 3 Tbsp Olive Oil
  • 1/2 Medium Onion, finely sliced

Preheat your oven to 400 Degrees Fahrenheit.

I made the dough a little bit sweet since the Zaatar is salty & a little bit tart. I just really like the contrast but you can change the dough recipe how you like in terms of saltiness or sweetness.

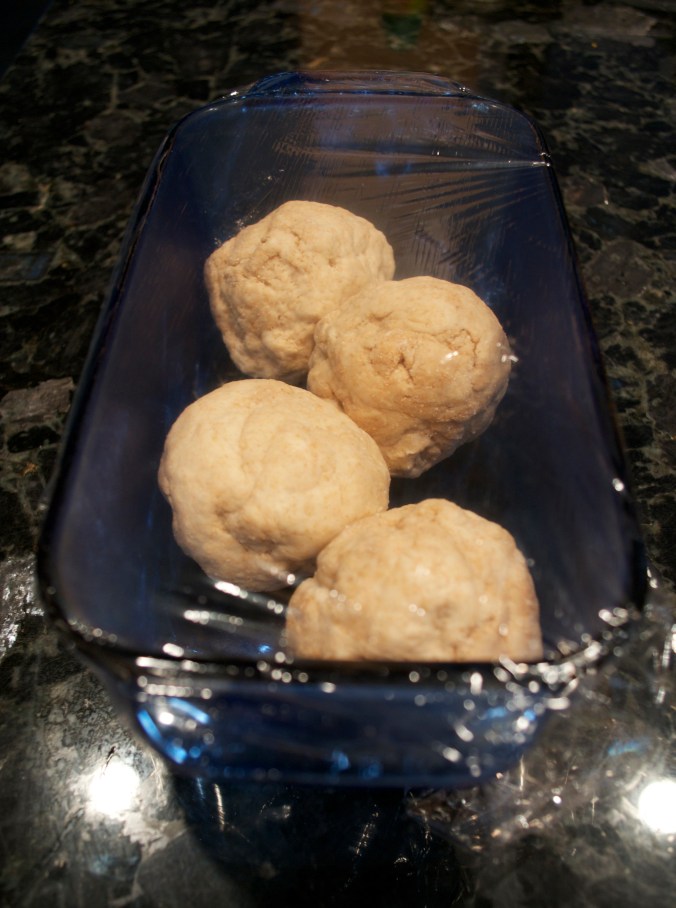
Combine warm water & yeast. Add sugar & honey. Let sit for about 5 minutes until the yeast are activated and the water begins to look foamy. Add the salt & sumac. Add the flour one cup at a time. If using a dough hook, keep on low speed. Otherwise, stir with wooden spoon to combine. My dough was a little bit tough. Make sure not to over mix. The dough should pull away from the sides of the bowl and form a smooth ball. Separate into 4 evenly sized balls, cover, and let rise in a warm spot for about an hour. I always microwave something (like water for tea) and then stick my dough in the microwave afterwards. My dough was ready in about 30 minutes and it looked much prettier after rising. It should double in size. With extra flour (dough will become sticky after rising) shape the balls into discs for your pizzas. The thinner, the crunchier.

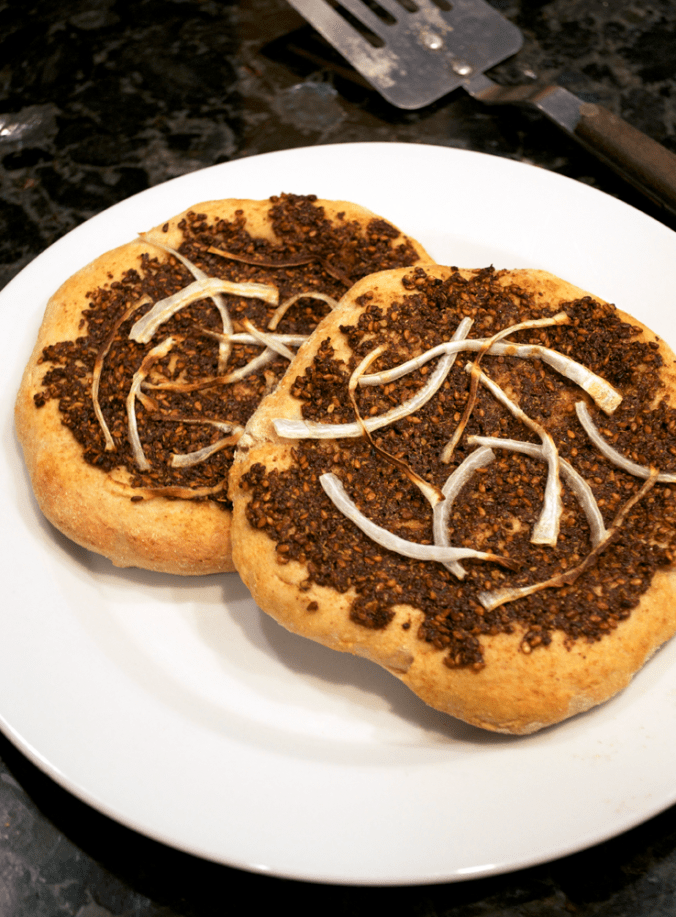
Combine the Zaatar, oil, and black pepper to make a paste. Spread on top of the dough and top with onion slivers. Bake for about 10 to 15 minutes, until the crust turns golden brown and the onions start to brown.

Let cool before eating so you don’t burn your tongue!