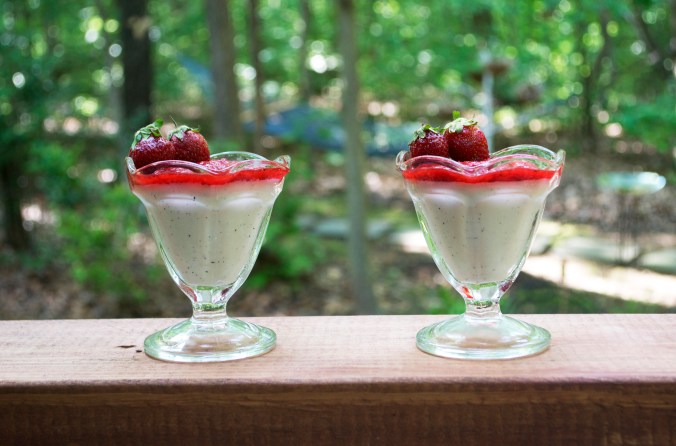
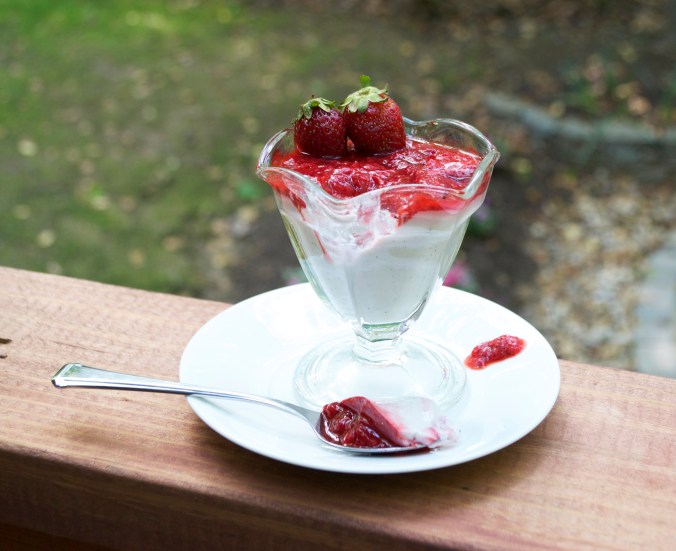
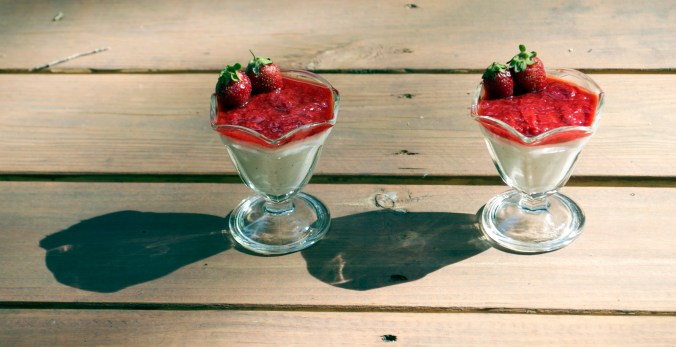
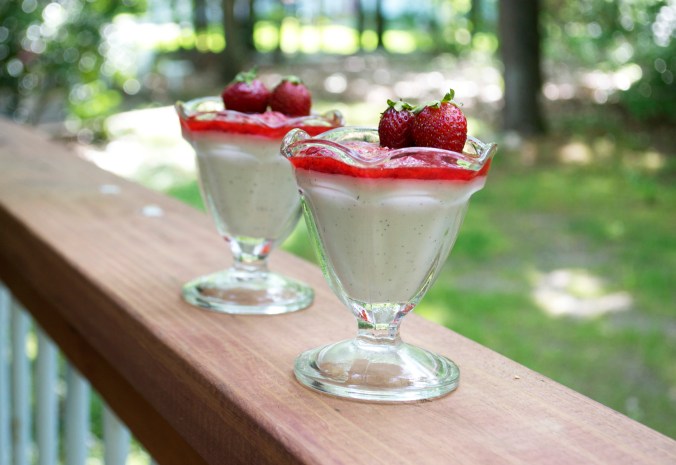
Vanilla Bean Panna Cotta with Strawberry Sauce

I’ve been wanting to make this Vanilla Bean Panna Cotta for a while now. When I first began perusing vegan recipes I came across the ingredient Agar Agar as a substitute for gelatin. Of course, I had to buy this unique ingredient when my favorite store, Echo Hill, suddenly stocked it after I mentioned it once. They offered both the powder & the flakes but as the flakes were much more expensive I, of course, purchased the powder. Then I felt doomed when I went to search for recipes using Agar Agar and found they all called for the flakes.

Until I came across an excerpt in Hannah Kaminsky‘s Vegan Desserts in which she says she prefers to use the powder. HALLELUJAH. I also love her blog Bittersweet – thus why I was checking out her cookbooks. After I made this discovery about Agar Agar powder, I immediately found her recipe for Lemongrass Panna Cotta. Okay, that was it, I was going to make some darn yummy vegan Panna Cotta.

And I did.

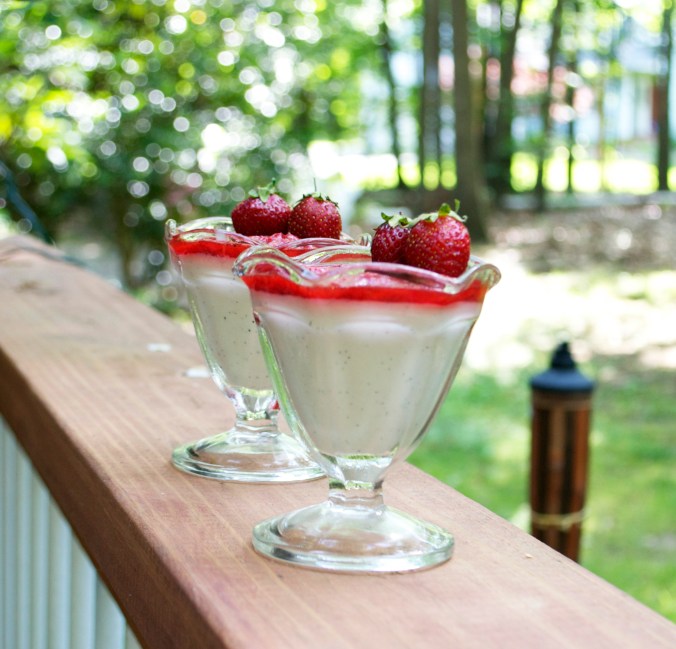
This dessert is so simple & elegant. The texture is silky & smooth. The flavor is wonderful and unique. And the strawberry sauce is the perfect compliment with a splash of brightness. It embodies summertime. In your mouth. So I suggest you make it. And then eat it.

Vanilla Bean Panna Cotta with Strawberry Sauce

    2 Cans Coconut Milk, Full Fat

2 Vanilla Beans

1/4 Cup Sugar

2 1/2 Tsp Agar Agar Powder

1 Cup Fresh Strawberries, sliced & mashed

1 Vanilla Bean

3 Tbsp Sugar

1/2 Tsp Cinnamon

Before you start… You’ll need about 6 5oz dishes or 8 4oz dishes. So maybe get out about 7 ; )

In a small bowl combine your sugar & agar agar thoroughly. Set aside.

In a medium saucepan, over medium heat, combine your coconut milk & the scrapings from your 2 vanilla beans. When the coconut milk is hot add the sugar mixture. Whisk gently & increase heat to high. Bring the coconut milk to a boil while continuing to whisk gently. Boil for about a minute or two.

Pour into various ramekins/small dishes.

Let sit at room temperature for 30 minutes to 1 hour before putting in the refrigerator for 1 to 2 hours. If you move the mixture into the cold too soon the mixture could separate.

For the Strawberry Sauce:

In a small saucepan, over medium-low heat, combine the smashed strawberries, vanilla bean scrapings, sugar & cinnamon. Allow to cook over heat for about 10 minutes until the strawberries completely break down. Stir frequently to prevent it from burning.

Pour evenly on the dishes of chilled panna cotta & serve or return to refrigerator to allow sauce to chill. Whichever you prefer! I served it both ways. I think I prefer the cold.

Don’t forget to serve with spoons 😉

I used the vanilla beans liberally because I bought them in bulk at a very good price. You can substitute a teaspoon or two of pure vanilla extract if you don’t have vanilla beans or don’t want to use 3 in one recipe. I definitely recommend at least one for the panna cotta… the tiny black vanilla bean specks are so wonderful to see!
Stuffed Peppers & Adobo Sauce

Oh. My. Lord. I just discovered that Rick Bayless has a television show. Where he cooks incredible Latin food. For 30 minute segments.

If you don’t know who Rick Bayless is, well then you’re not eating enough (or obsessed with) Mexican food.

I attribute this obscure find to the History Channel special “3 Night Event!” of the Hatfield & McCoys. And Stephen’s dad. I don’t watch a lot of TV. And by that, I mean on the actual TV. I’m a netflix junkie. I like my television shows portable (by way of laptop) & with back-to-back episodes. SO. Stephen’s father loves shows about cars.  And antiques. Thus, I was introduced to American Pickers over Memorial Day weekend. In between every 10 minutes of American Picker footage was a 3 minute homage to the Hatfield & McCoys spectaculAR. So I just HAD TO watch it when it premiered Monday night to find out whether it was gold or shit. And I was sucked in to watching episode 2. And 3. Upon searching the television guide trying to find the History channel in order to DVR the second episode… to fast forward through the HEINOUS overload of commercials, of course… I stumbled upon the mighty random Live Well Network featuring a show called “Mexico: One Plate at a Time“. My reaction went something like “Mexican Food?…. Why yes, I think I will.” Then I read the “info” and found that a man named Rick was going to prepare some common Mexican street food (or something). RICK? Could it be Rick Bayless?!?! So I tuned in. And fell in love. And set out to record every episode for the next week.

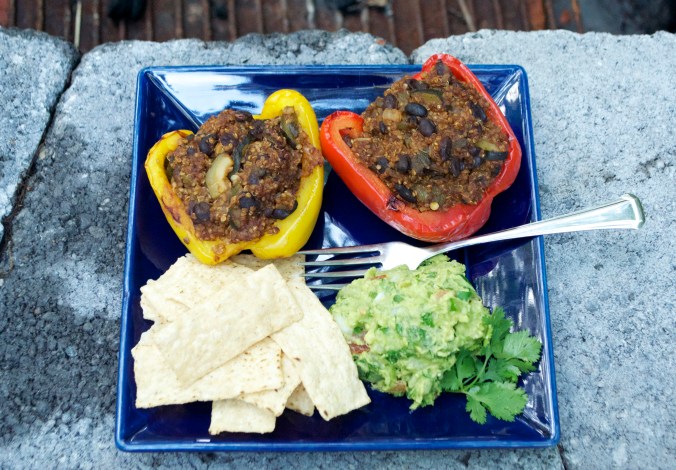
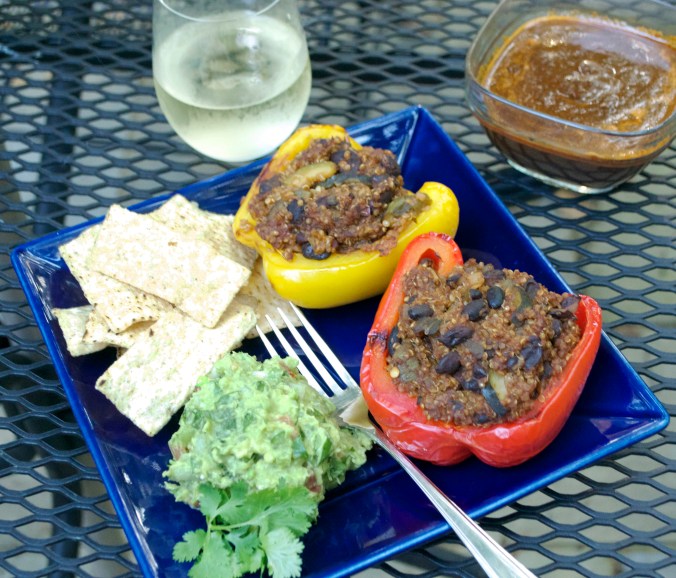
He made this kickass looking Adobo Sauce and when I decided to make stuffed peppers this morning I knew I should change it up a bit. Cumin & Chili Powder are great but I needed something different. Something special. Something RICK BAYLESS makes. I tried to replicate the recipe but I couldn’t remember the proportions so I did as best I could.

Okay, I’m obsessed. But if you love (and I mean deep in your bones – want to eat it every single meal – LOVE) Mexican food, then you should be too.

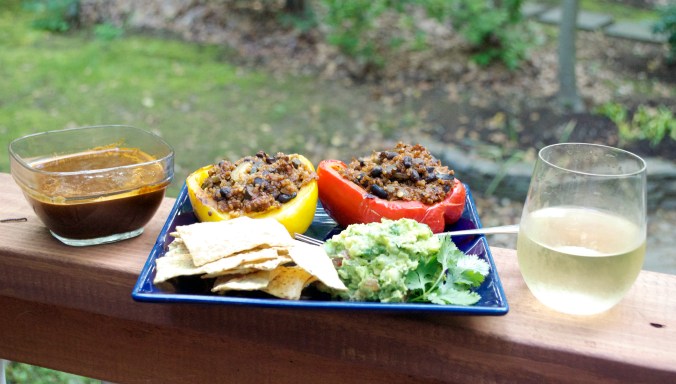
Stuffed Peppers with Adobo Sauce

Adobo Sauce:

  • 3 Ancho Chiles, dried
  • Olive Oil
  • 1 1/2 Cups Water
  • 2 Cloves Garlic
  • 3 Tbsp Cider Vinegar
  • 2 Tbsp Brown Sugar
  • Dash of Cloves
  • 1/4 Tsp Cinnamon
  • Salt
Cut open the ancho chiles and remove the stem & seeds. Over medium heat, toast/fry chiles in olive oil by pressing flat on both sides. In a large bowl submerge chiles in 1 1/2 cups of water. Cover with a bowl or plate to help them stay submerged. Let soak for about 20 minutes. In blender, combine chiles and their soaking water with the remaining ingredients. Blend on high until mixture is smooth. Strain through medium strainer to remove any extra seeds or large bits of chile skin.

Stuffed Peppers:

  • 3 Bell Peppers
  • 1 Large Poblano
  • Olive Oil from heating anchos
  • 1/2 Large Spanish Onion, diced
  • 1 Medium Zucchini, diced
  • 1 Jalapeño, minced
  • 1 – 2 Cloves Garlic, minced
  • 1 Medium Tomato, diced
  • 1 Can Black Beans, rinsed
  • 2/3 Cup Quinoa
  • 1 Chipotle, minced (from can) OR 1/2 Tsp Chipotle Powder
  • 1/4 Cup Adobo Sauce
  • Salt
  • 1 – 2 Lime
Preheat oven to 450F. Roast the poblano, rotating until skin is mostly blackened all the way around. Let cool a bit before removed seeds, ribs & stem. Dice for the mixture.
Lower oven temp to 425F. Cut bell peppers in half lengthwise & clean out stems, ribs & seeds. Bake in oven while you’re preparing the filling. This is a bit of a time-saving tip. When the peppers start to brown, remove from oven. They should just be golden on the edges.
Over medium heat in a medium-large pot, sauté onions, jalapeño & zucchini in oil leftover from light frying the chiles for the adobo. When the onions just begin to brown add the poblano, garlic & tomato. Combine & let cook for a couple of minutes.
Add black beans & quinoa and stir to combine. Add enough water to just cover. Cover pot & bring to a boil to cook quinoa. About 10 – 15 minutes.
Lower heat & add canned, minced chipotle and adobo sauce. Stir to combine. Salt to taste.
You want your mixture to be nice & moist for the oven. Add more adobo sauce to taste/moisten.
Fill peppers to the brim with prepared mixture and return to oven for about 15 minutes.
Remove  from oven & squeeze fresh lime juice over each pepper.
Serve with homemade guacamole & extra adobo sauce & Mexican hot sauce (preferably Tapatío).
And perhaps a glass of nicely chilled dry white wine ; )
Absolutely delicious ❤ And filling : )

Magical Brownies

Wow, it’s been a month. I’d tell you I’ve been busy, but I’d be lying. It has been an eventful month though. Don’t worry, I won’t disappear again. I have some great recipes to share for summer 🙂

What happened this May:

  • My oldest brother got married! Now, I have a wonderful big sister : )
  • Stephen graduated the SAME DAY from Penn State. And I had to miss it : / Bridesmaid duties.
  • But then I helped him move out of his apartment in State College.
  • I scheduled my classes for the first semester of my Global Environmental Policy  program at AU.
  • And bought the books for one of my classes… not including the one yet to be released. I also started to read one of said books… A Sand County Almanac by Aldo Leopold (it’s pretty fantastic).

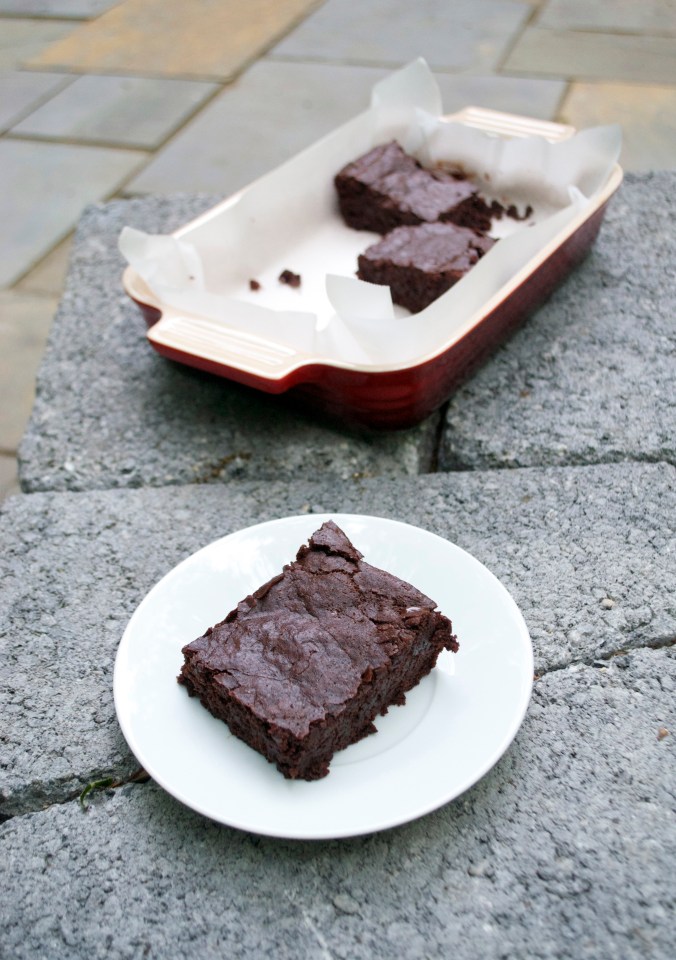
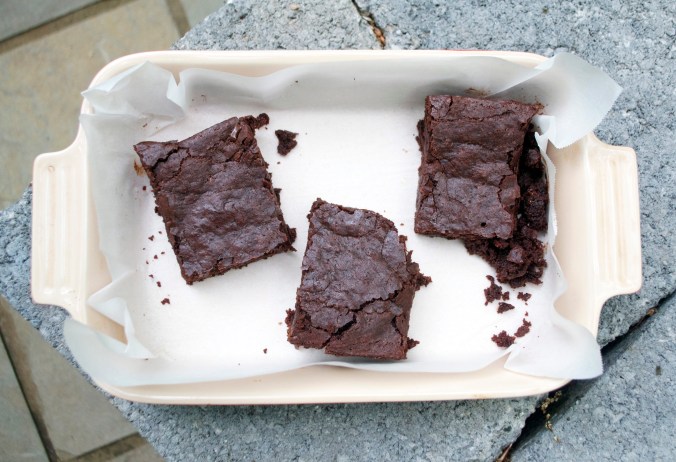
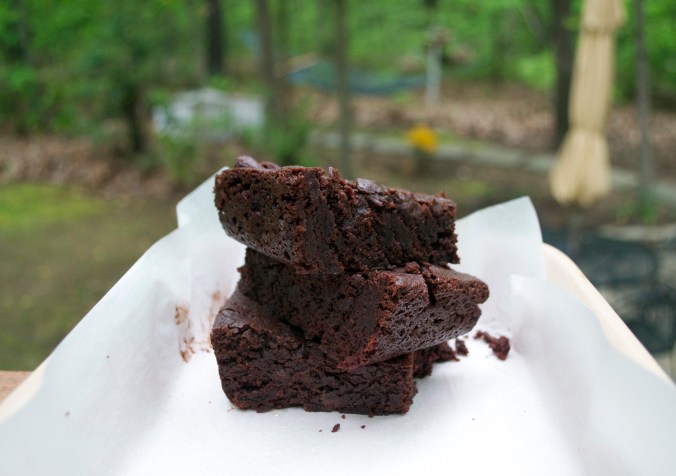
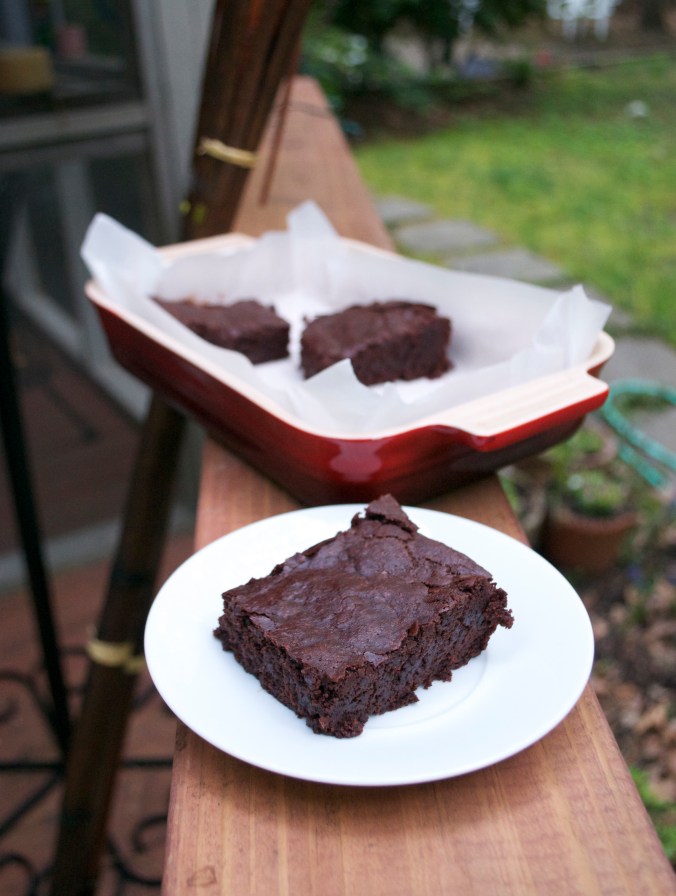
These are celebratory brownies!

These are amazing brownies!

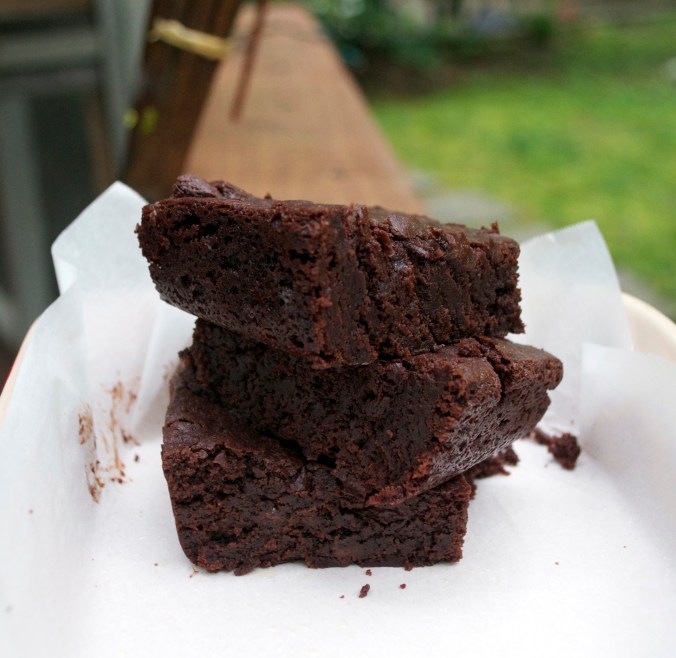
These are magical brownies! (No, not “special.”)

These are the brownies I never thought I’d ever be able to make from scratch 🙂

Let alone, make vegan.

They can be enjoyed by themselves. With a nice glass of your milk of choice. Or topped with a huge scoop of ice cream & some fudge sauce <—- yes, please. Brownie sundaes ❤

And make them I will, again and again and again for the rest of my life… so long as chocolate is available. I read an article recently that said the demand for chocolate is increasing so rapidly that the production of chocolate won’t be able to meet the population’s “needs.” Apparently, cocoa farmers/producers are straining their farms to produce greater quantities of cocoa than they realistically have the capacity to produce. AKA, the cocoa plants need more TLC than they’re receiving & are becoming weak. I wish I could remember where I read this. I’m sure, in our modern age, you can “GOOGLE” it.

Magical Brownies

1/3 Cup Chocolate Chips + (1/3 Cup Chocolate Chips optional)

1/3 Cup Cocoa Powder

4 Tbsp Coconut Oil

4 Tbsp Neutral Oil (Veg/Canola/Olive)

2 Ener-G Eggs

1 Cup Sugar

1 Cup AP Flour

1 Tsp Baking Powder (scant)

1/2 Tsp Salt

1 Tsp Vanilla

1/4 Cup Almond Milk

Directions:

Line an 8×8 pan with parchment paper & preheat oven to 350.

In a double boiler, over low heat, melt chocolate chips with cocoa powder, coconut oil, and vegetable oil.

In a small bowl or measuring cup, prepare Ener-G eggs (or flax eggs). Set aside.

In a medium-sized, mixing bowl, combine flour, sugar, baking powder & salt.

When the chocolate is completely melted, add to dry ingredients.

Add the ener-g eggs, vanilla & almond milk.

Stir to combine completely. Add additional chocolate chips (for best results… aka chocolatey-ist) and stir.

Pour batter (it should be a bit thick) into lined pan.

Bake until toothpick/knife inserted in center comes out clean. EDIT: About 35 – 45 minutes.

I suggest checking on them every so often. I’ve baked them in a le creuset enamel pan & a glass pan and the time varied a bit.

Now cut them and….. (oh yeah, let cool a bit)…. NOW….

Devour!!!

Okay, I’m running to the grocery store so I can make these again today. These pictures are making my stomach RAWR!!